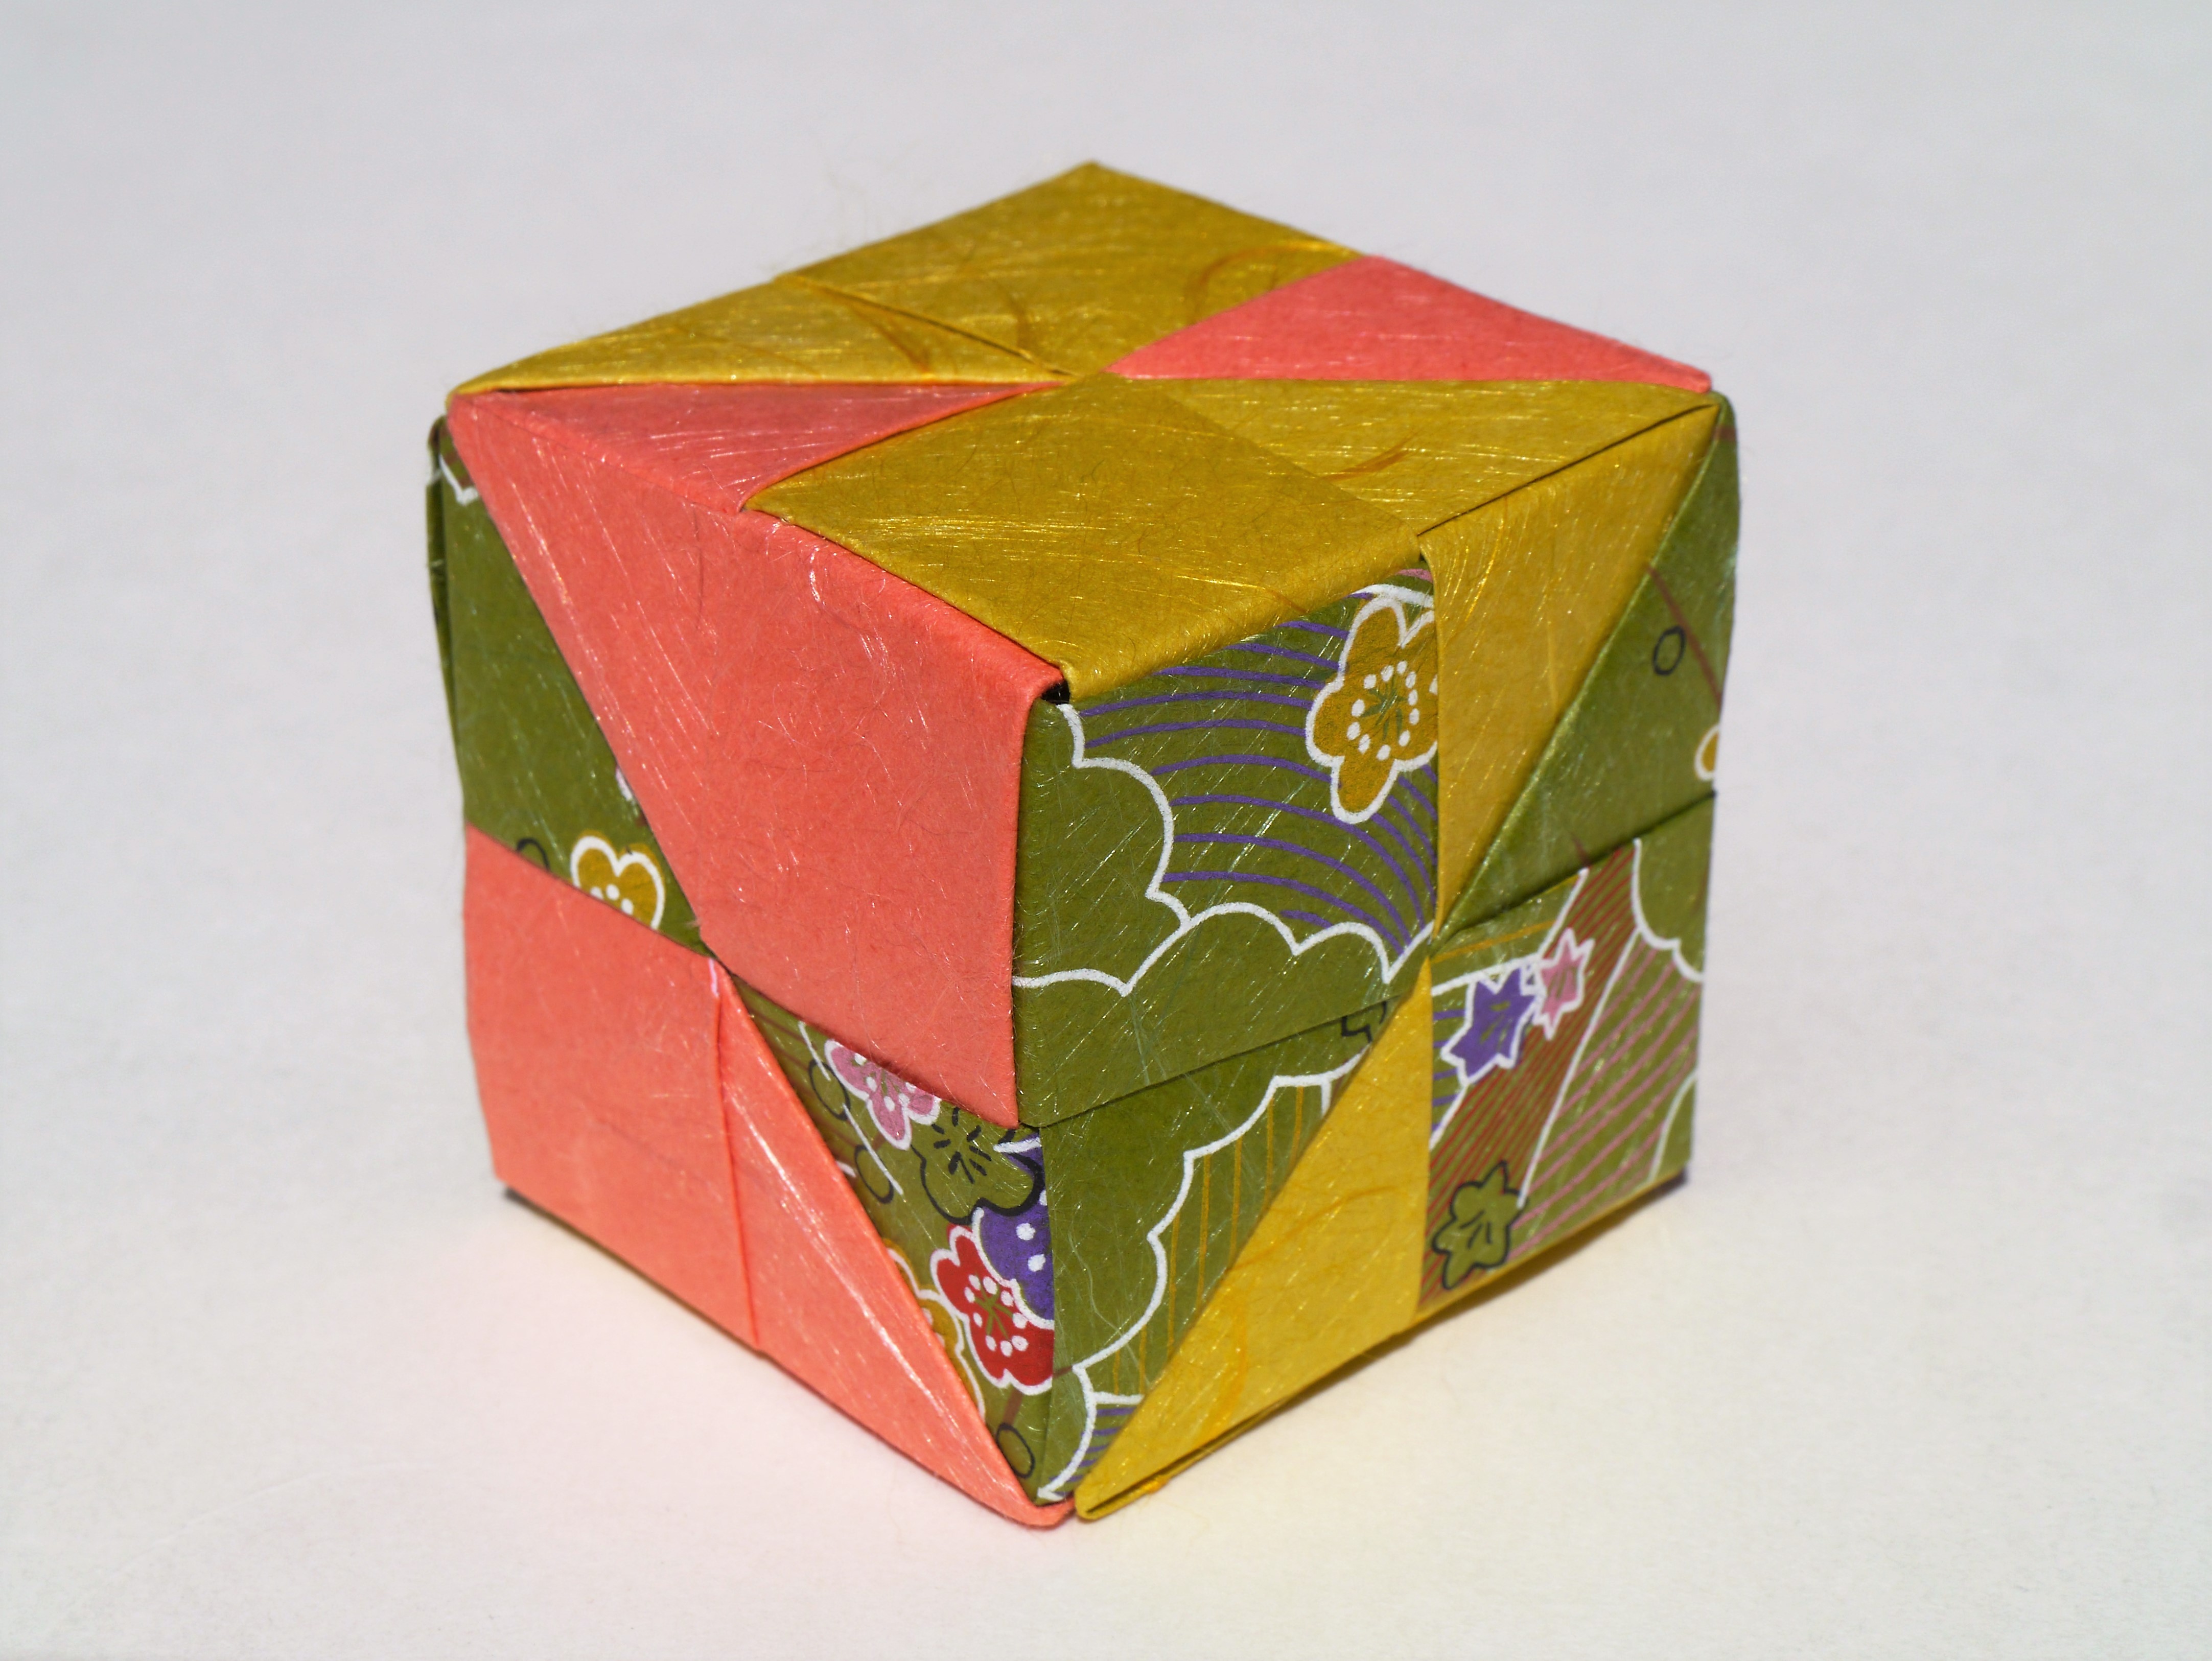
What better way to show off your amazing collection of origami paper than by folding an origami model that takes 6 pieces to make. With these modular origami cube instructions, learn how to easily fold a sturdy box that can be used to store gifts, hide secrets, or even play a game of dice!
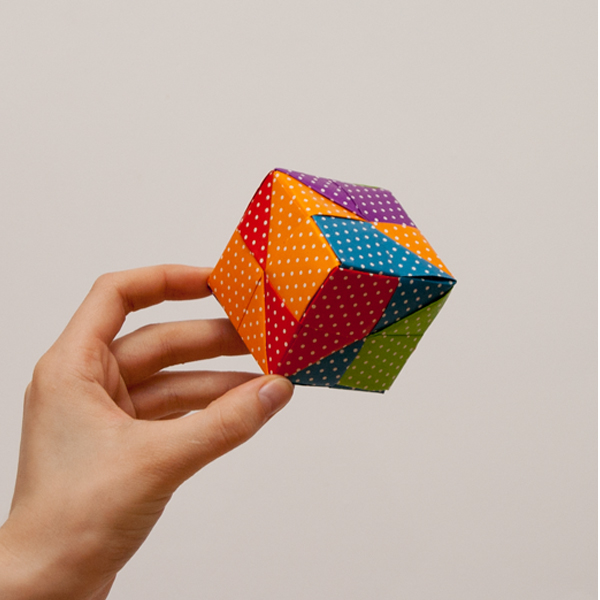
Note: For this easy origami cube model, you will need to fold six modular units that will then be connected together to form the cube. You can use different colored origami paper on each side, however, the finished modular units will only show the color that is facing away from you during Step 1.
Origami Cube Modular Unit
Step 1
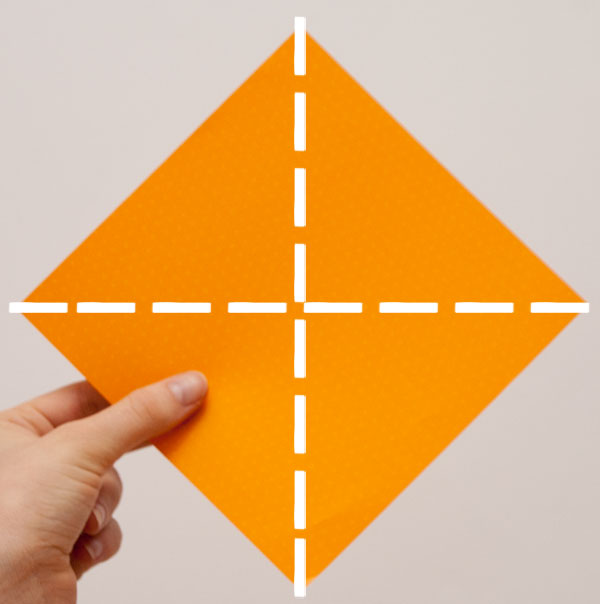
Start with a square sheet of paper, and turn it until it looks like a diamond. Fold it in half horizontally and vertically. Unfold.
Step 2
Fold the top and bottom corners toward each other so that they meet at the intersecting creases made in Step 1.

Step 3
Fold the top and bottom edges toward each other so that they meet in the center.

Step 4
Fold the left corner in so that it touches where the top and bottom flaps meet. Repeat on the right corner.

Step 5
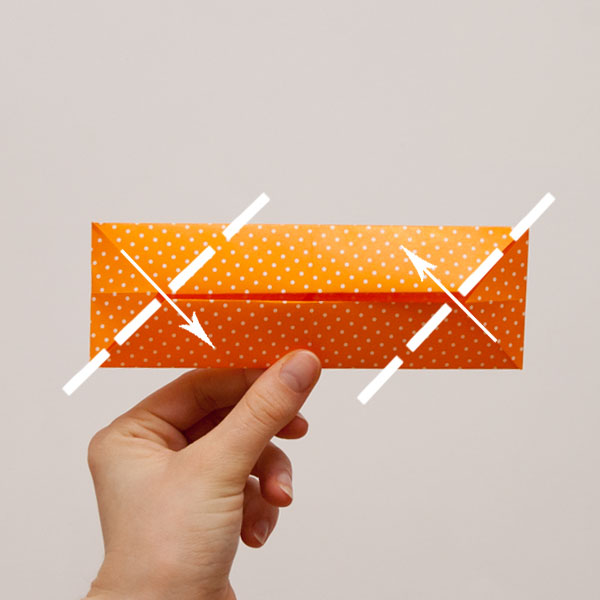
Fold the top-left corner down so that the left edge lines up with the bottom edge. Then, fold the bottom-right corner up so that the right edge lines up with the top edge.
Step 6
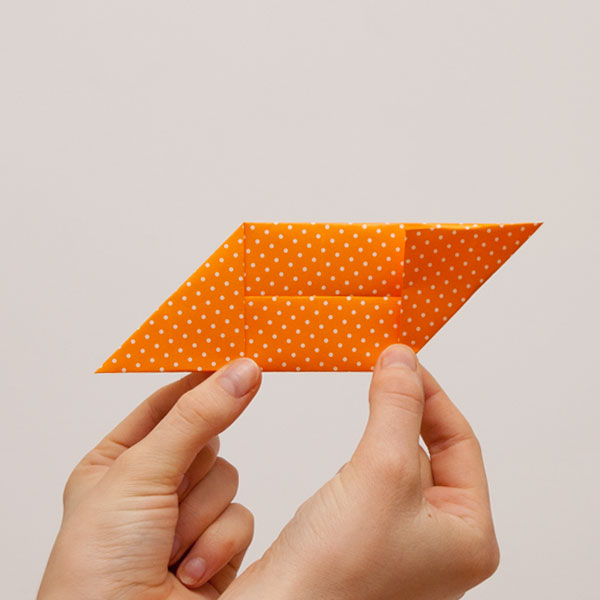
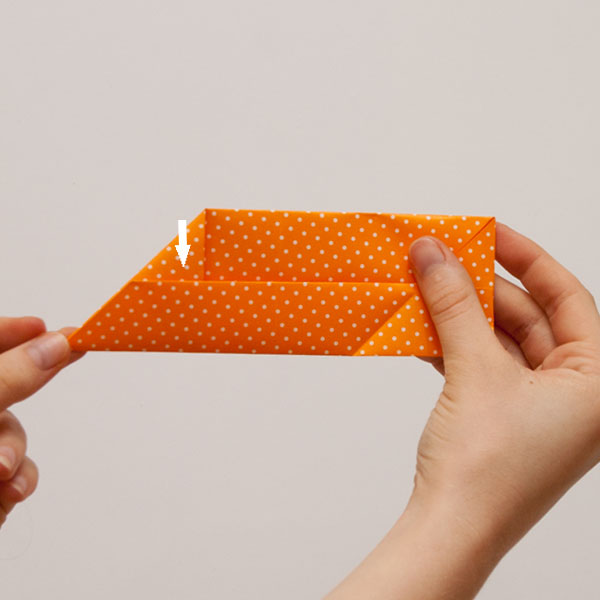
Lock the flaps created in Step 5 by inserting each of them into the flaps created in Step 3. The left triangle flap will go into the bottom flap and the right triangle flap will go into the top flap.
Step 7
Turn the model over so that the back is facing you.

Step 8
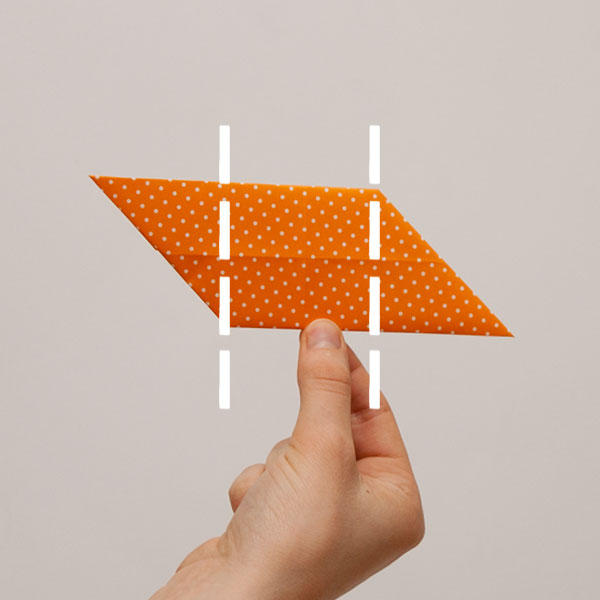
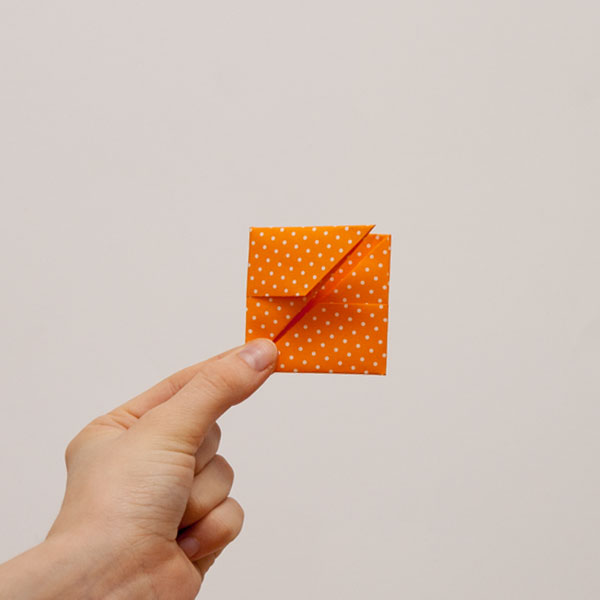
Fold the left and right corners in to form a square. Unfold.
Step 9
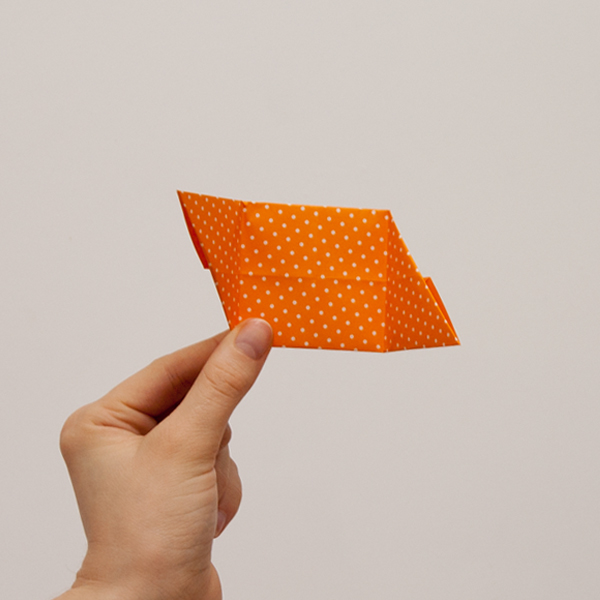
Make five more modular units.
Origami Cube Instructions
Step 1
Once you have folded six modular units, take one and hold it so that the triangle flaps point away from you.

Step 2
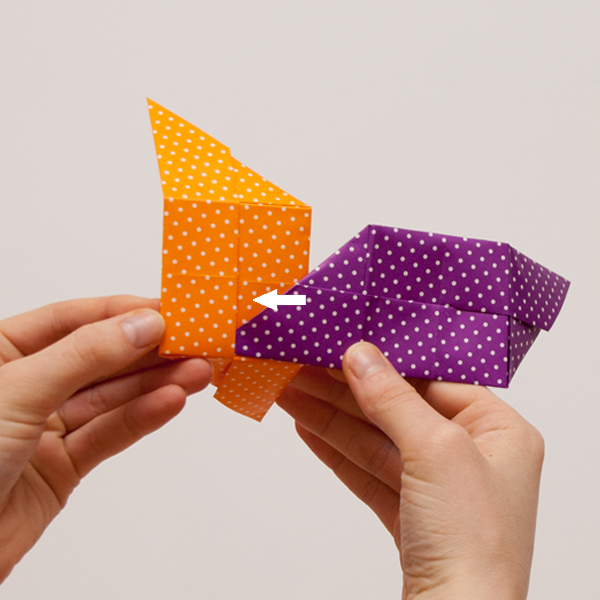
Take a second modular unit—also holding it so that the triangle flaps are pointing away from you—and insert the left triangle flap into the left pocket of the first modular unit.
Step 3
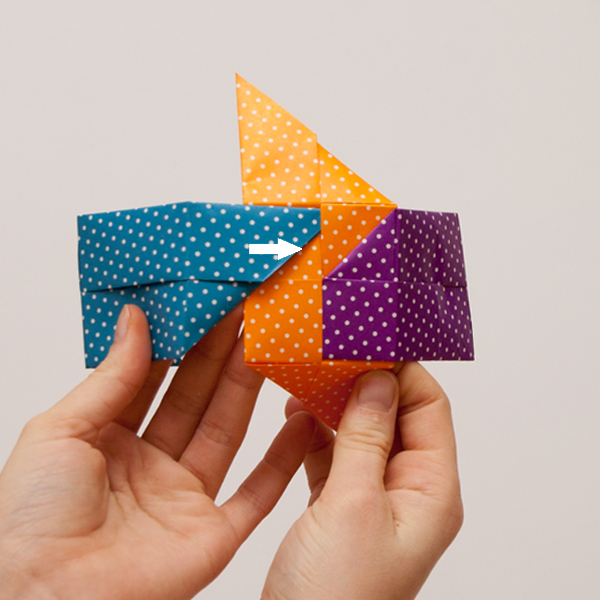
Repeat Step 2 with a third modular unit, but this time insert the right triangle flap in the opposite pocket of the first modular unit.
Step 4
Turn the model over so that you can see the inside of the origami cube.

Step 5
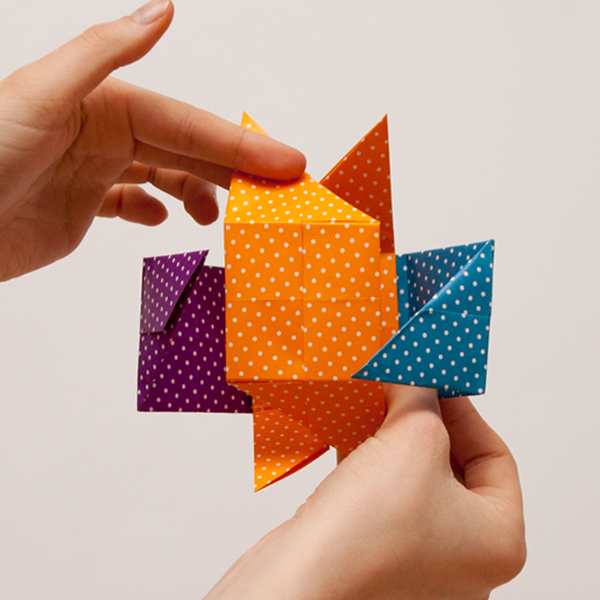
Add a fourth modular unit by repeating Steps 2 and 3 with the remaining triangle flaps of units 2 and 3.

Step 6
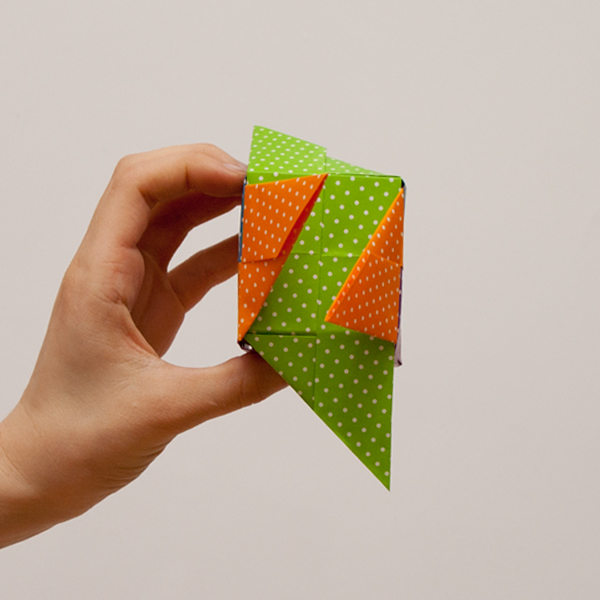
Rotate the origami cube so that you are looking at one of the remaining openings. Add a fifth modular unit by repeating Steps 2 and 3 with the triangle flaps of units 1 and 4.
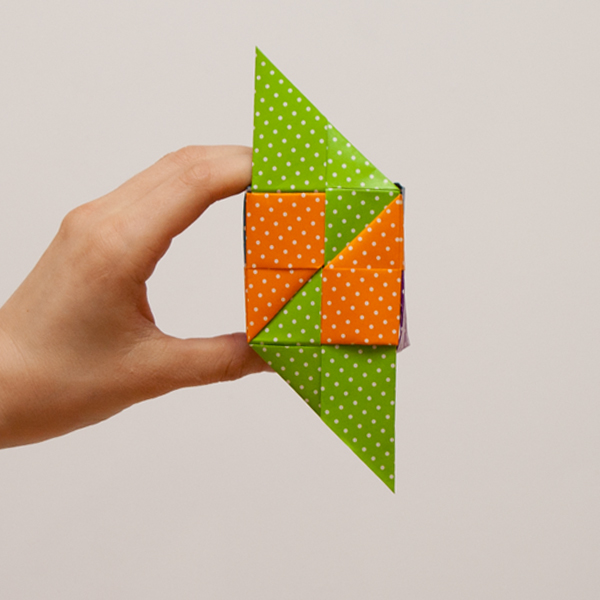
Step 7
Rotate the origami cube so that you are looking at the last remaining opening. Then, add the final modular unit by repeating Steps 2 and 3 with the remaining triangle flaps of units 1 and 4.

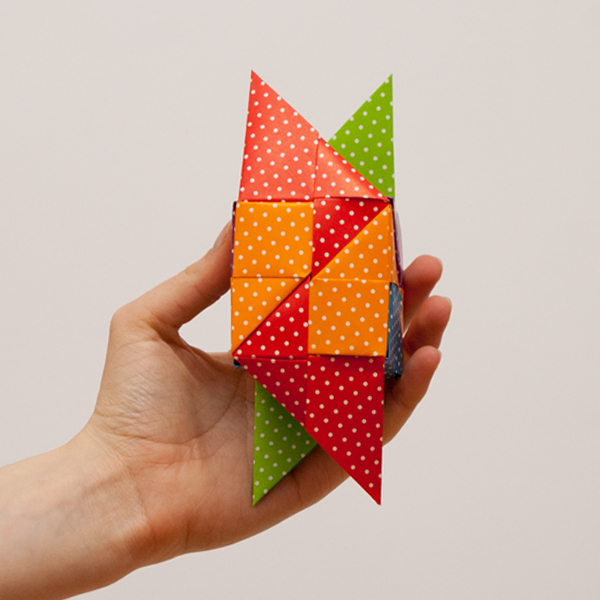
Step 8
Insert the two remaining flaps on the top of the origami cube by repeating Steps 2 and 3.
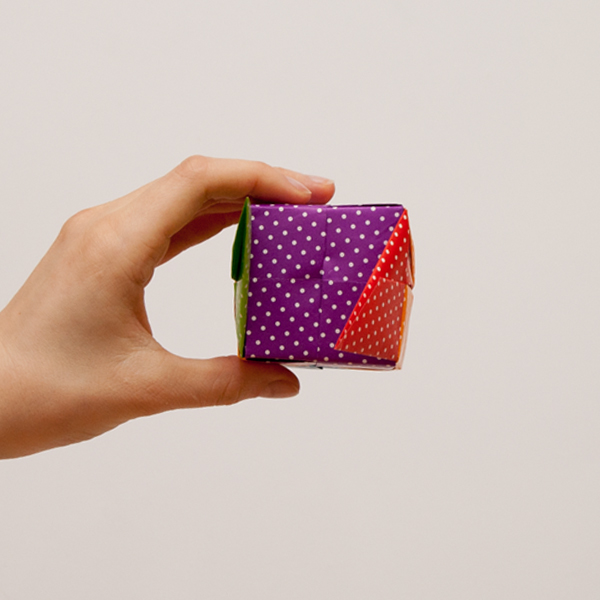
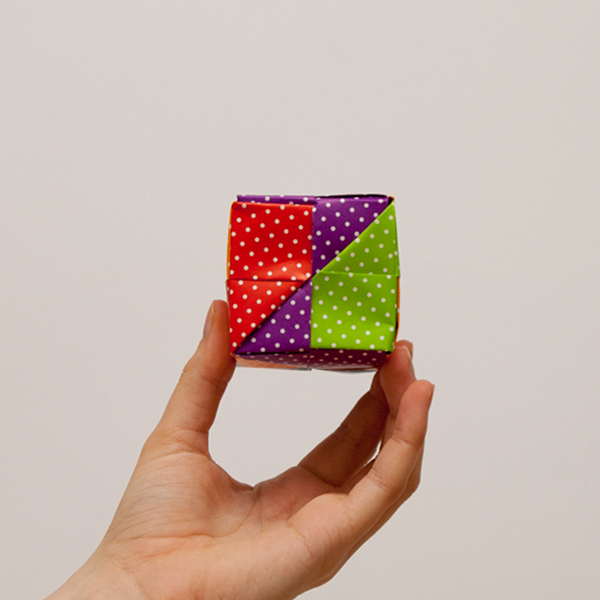
Step 9
Insert the two remaining flaps on the bottom of the origami cube by repeating Steps 2 and 3.
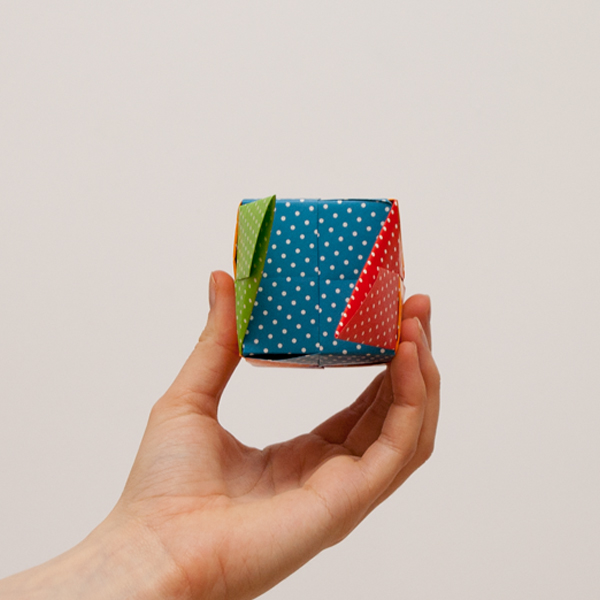
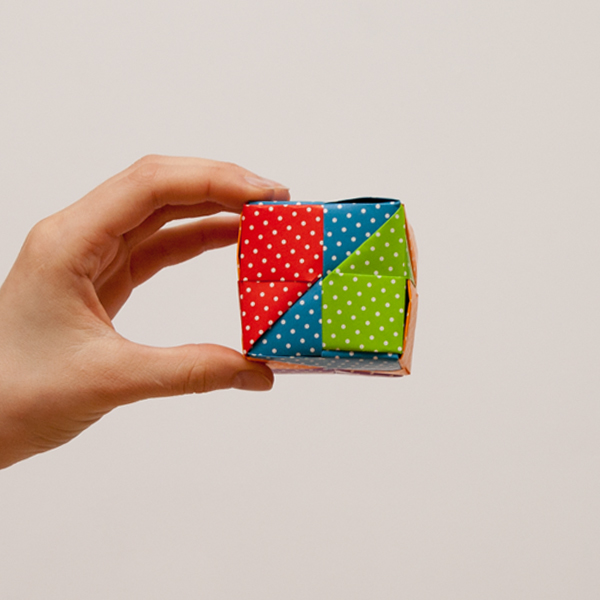
Easy Origami Box Completed

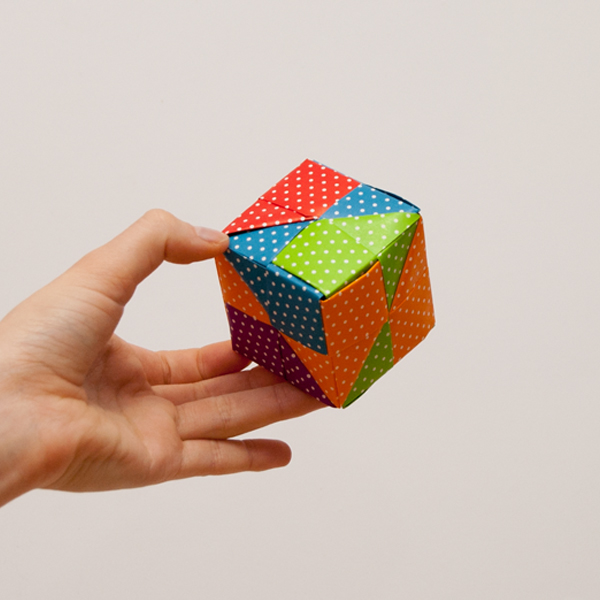
You just learned how to make an origami cube!
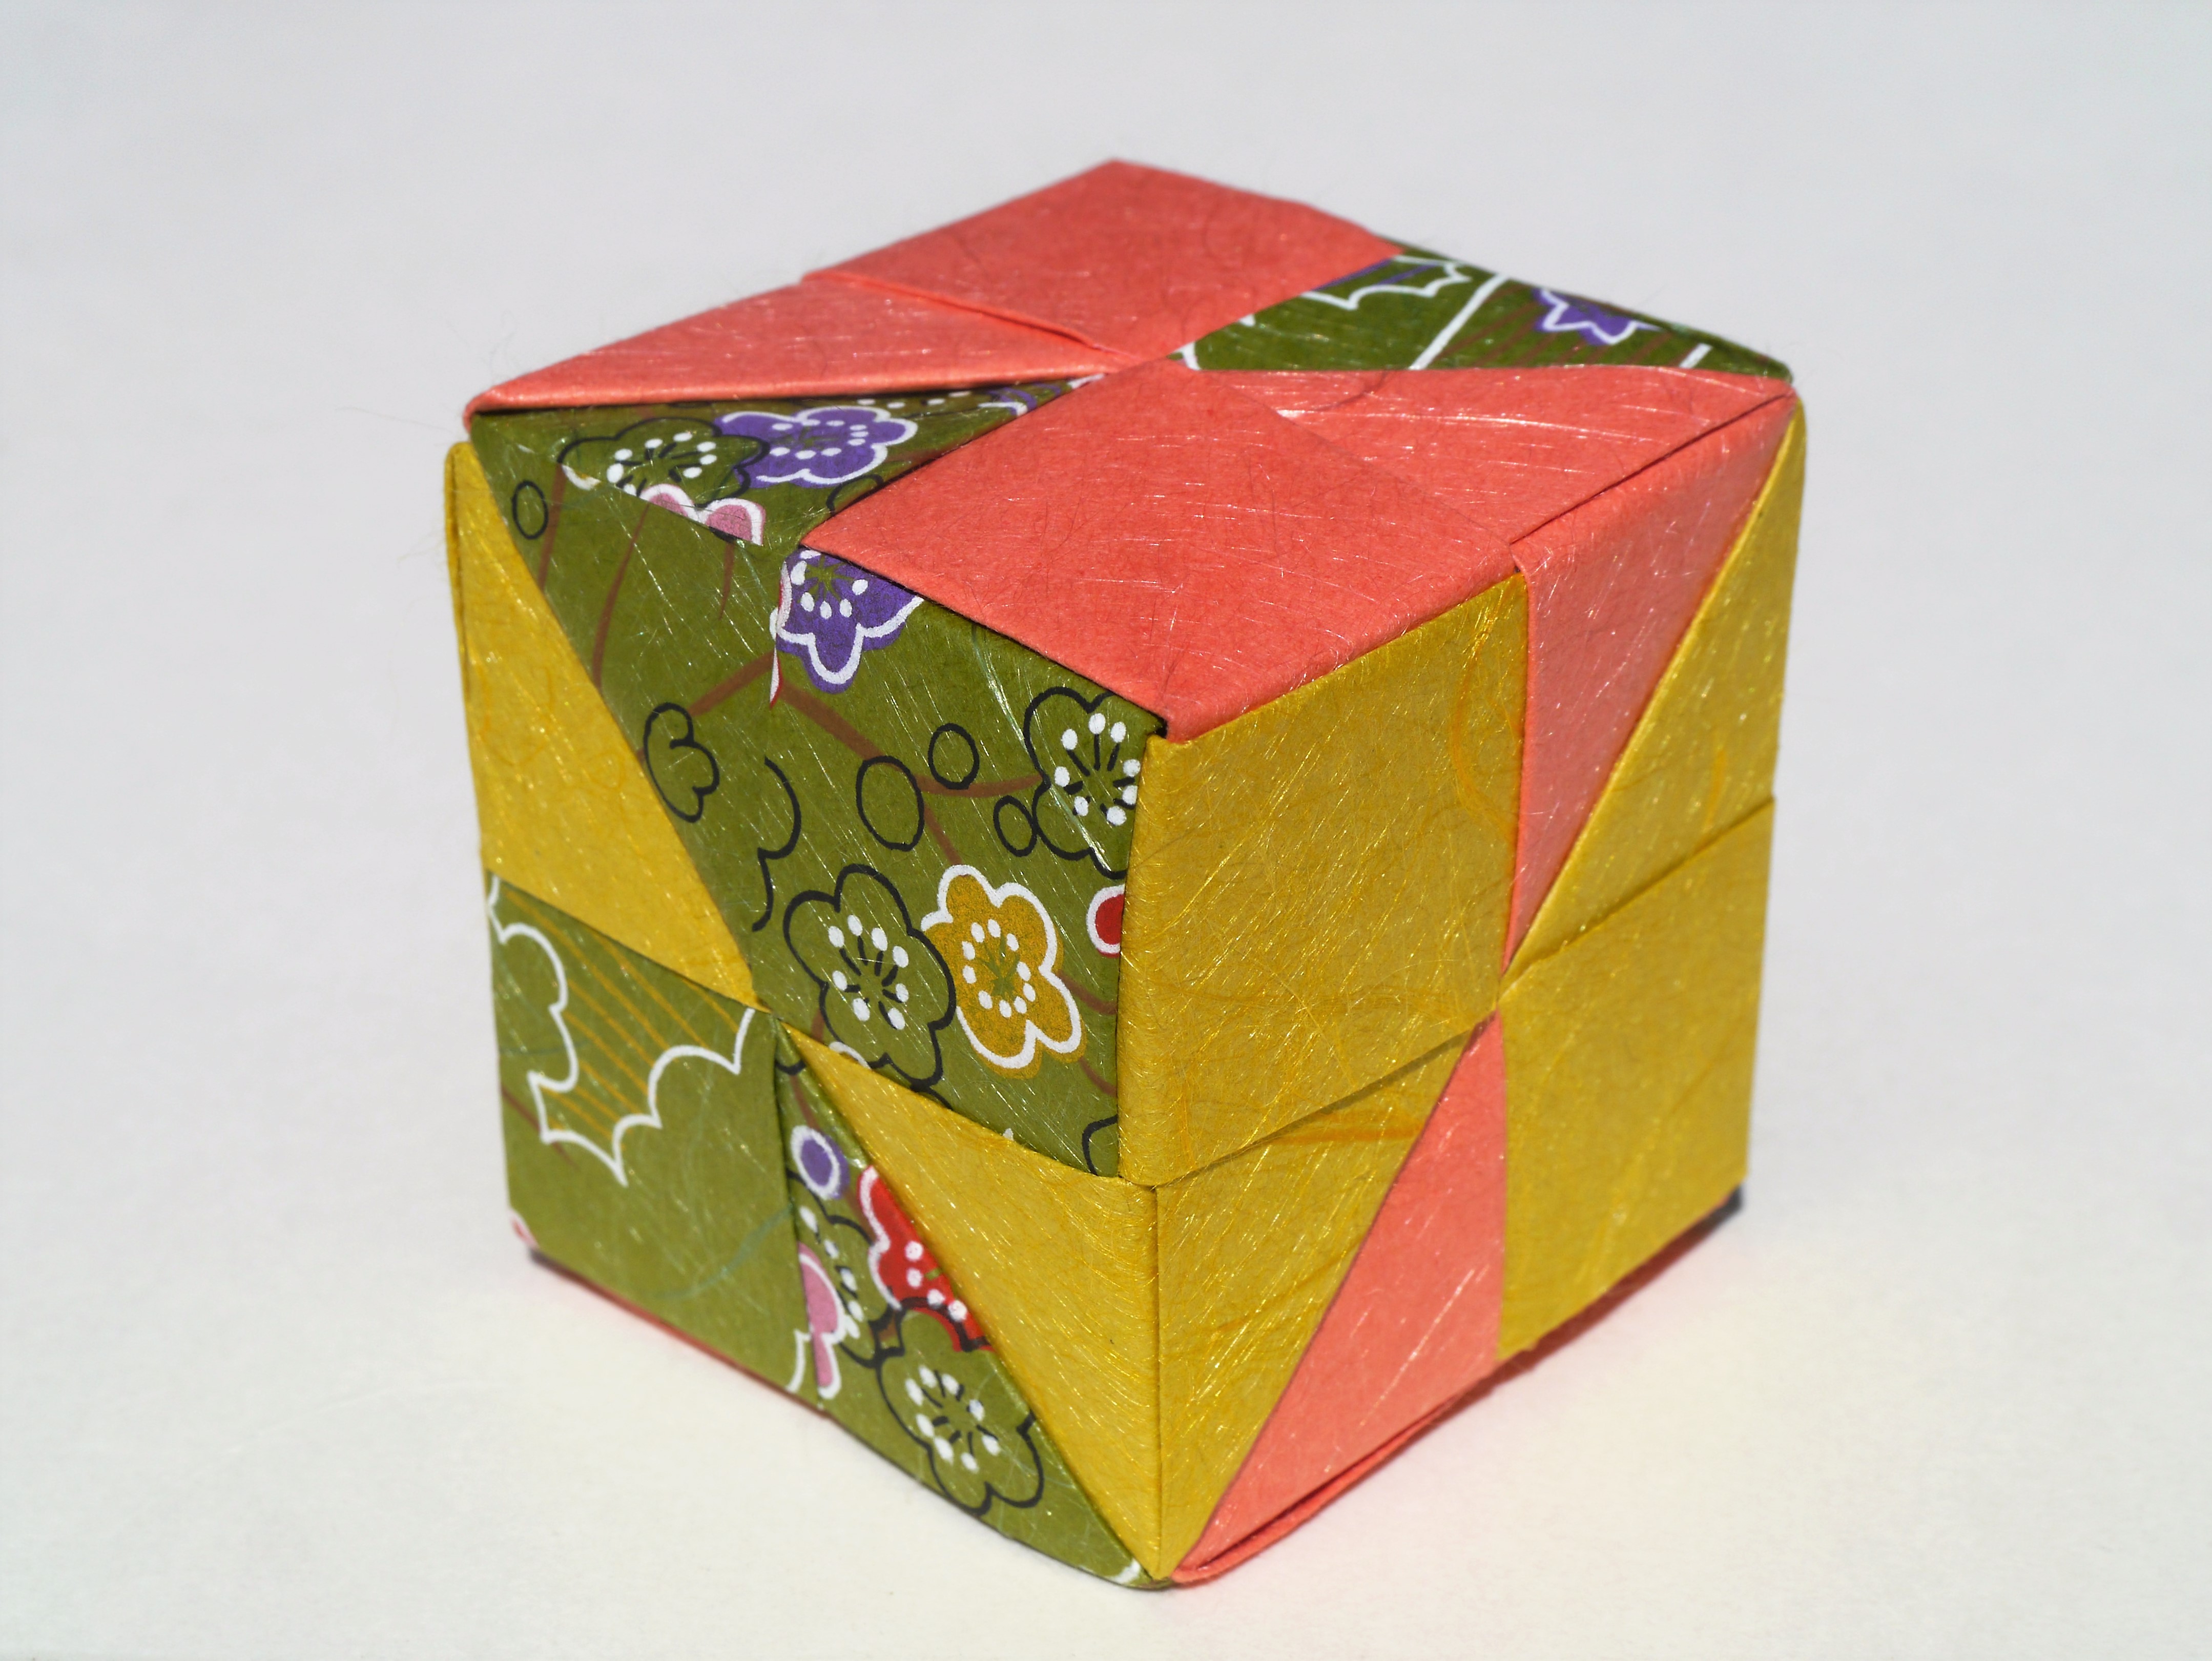
Tips on Choosing the Right Origami Paper
Part of the fun when folding origami is the paper you use, especially when creating modular origami where multiple pieces of paper are used to create one model. For this easy origami cube, we recommend single-sided origami paper because of the variety of vibrant prints to choose from as well as the paper’s ability to create crisp, clean creases. However, Japanese washi paper may also work well if the paper’s fibers aren’t too large. (You can even buy single-sided origami paper and washi paper direct from Japan).
If you would like to learn more about the kinds of origami paper available in Japan, and how you can buy some of your own, be sure to read our article on how to choose the right origami paper for your folding project!
Try More Easy Origami Instructions
 |
 |
 |
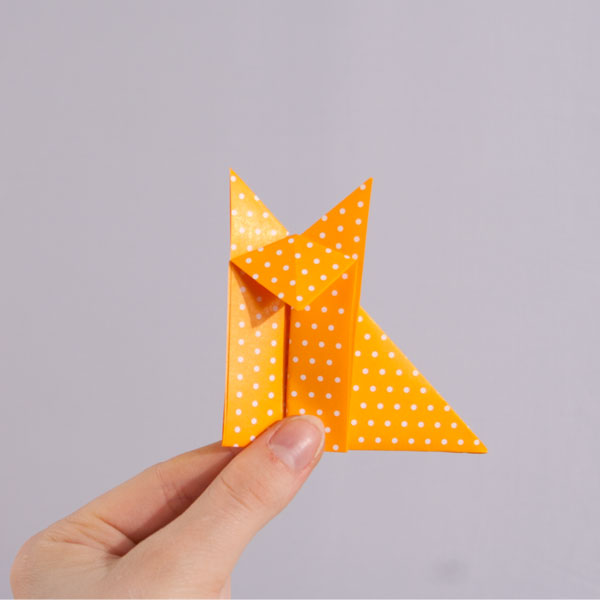
Origami Fox |
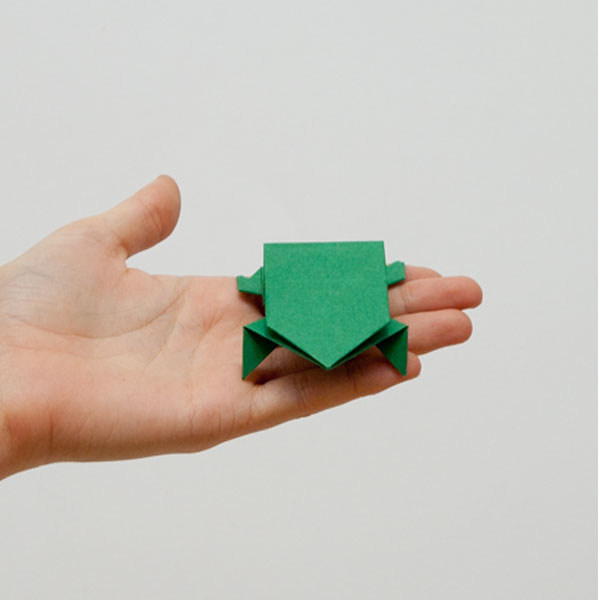
Origami Frog |
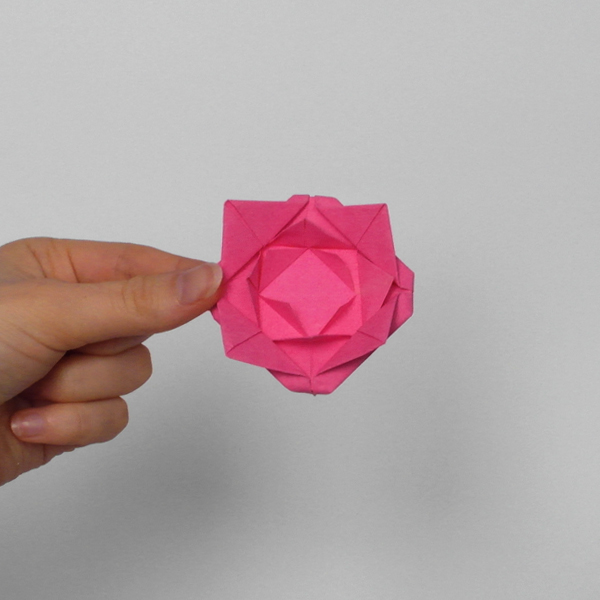
Origami Rose |
