
Do you have a fetish for frogs? Then we suggest trying your hand at folding an easy origami frog to add to your collection of the world’s most adorable amphibian! You’re just a hop, skip and jump away—so let’s get started!
Note: For this easy origami frog model, you can use origami paper that is a different color on each side, however, the finished model will only show the color that is facing you in Step 1.
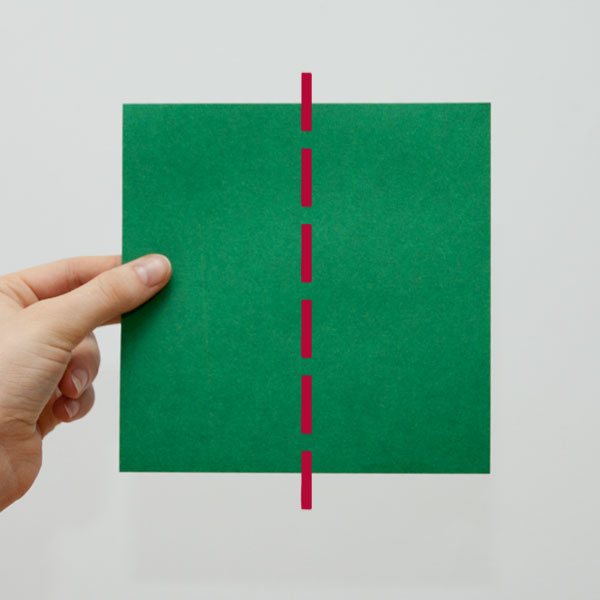
Step 1
Start with a square piece of origami paper and fold it in half vertically. If your paper has two colors, make sure you fold it so that the color shows on the outside of both the front and back.
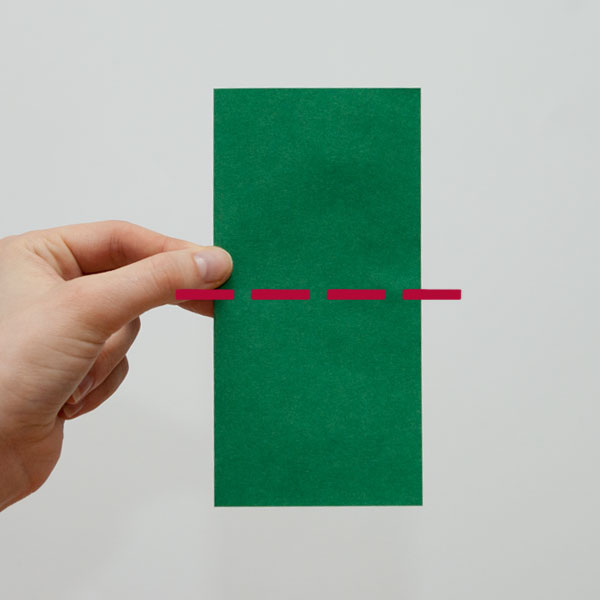
Step 2
Fold the paper toward you in half horizontally. Then unfold. You will use this line as a guide in Step 3.
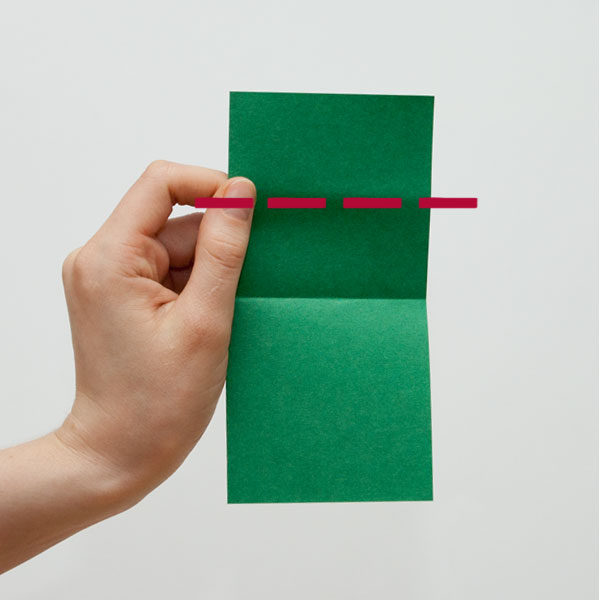
Step 3
Fold the upper half of the paper backward so that the top edge lines up with the horizontal, center fold made in Step 2. Then unfold.
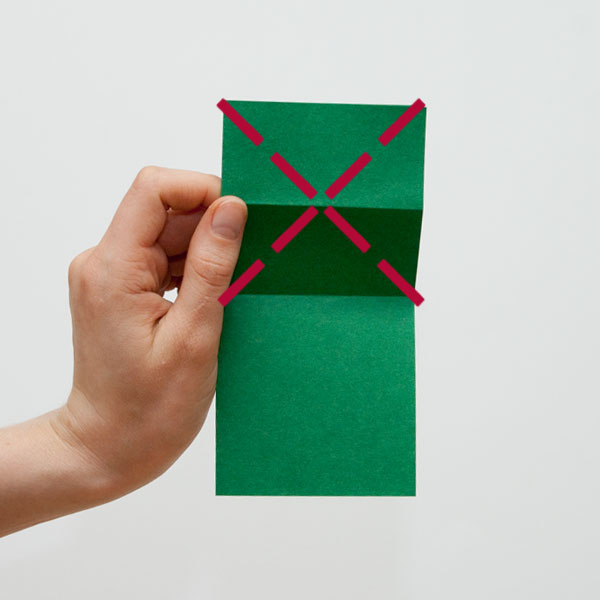
Step 4
Fold both top corners diagonally toward you so that they touch the opposite corners of the fold line made in Step 2. The “X” should intersect at the fold made in Step 3. Then unfold.
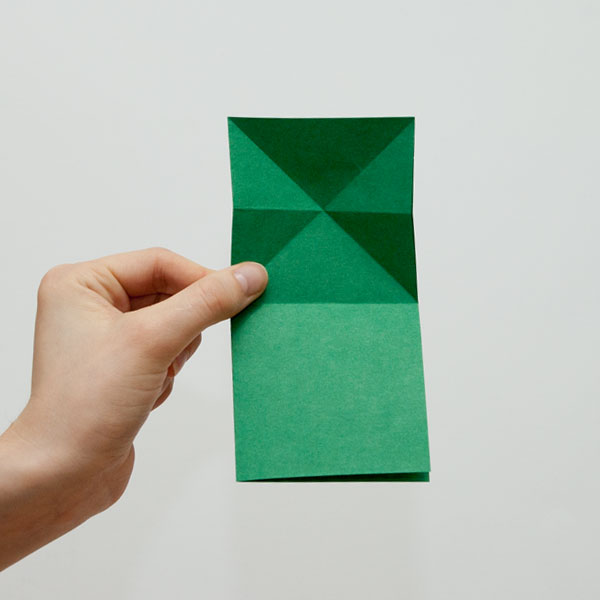
Step 5
Using the folds from Steps 2–4, collapse the top half of the paper so that it looks like a triangle.
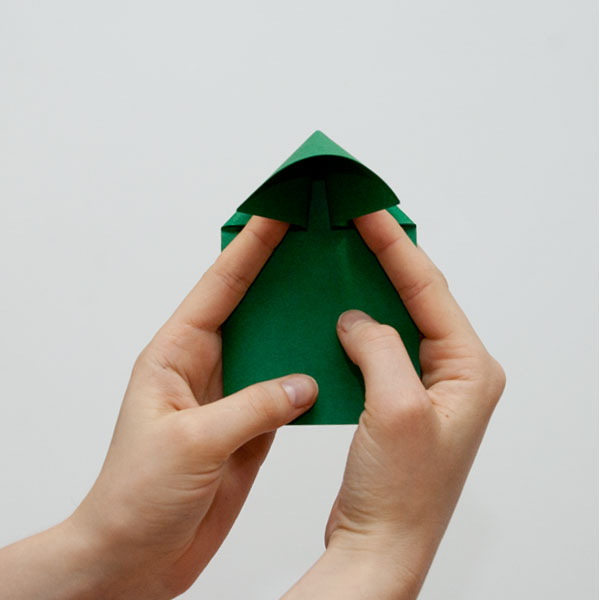
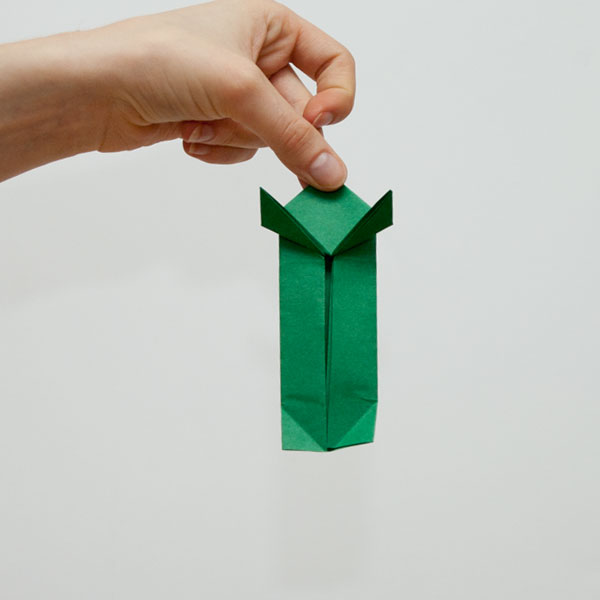
Step 6
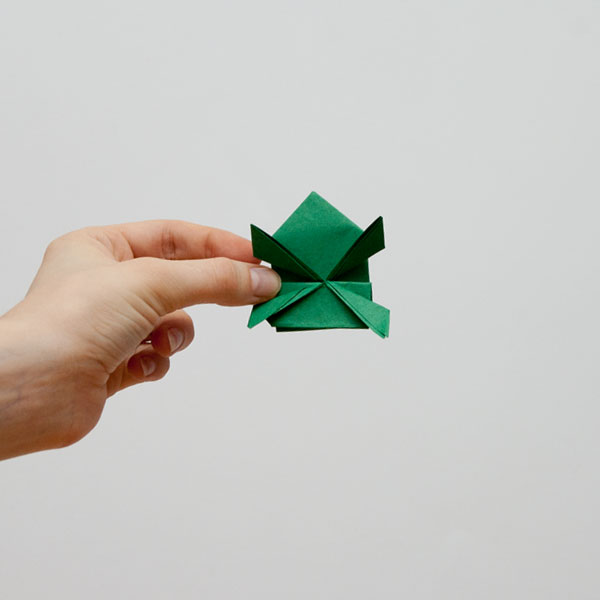
There are now 2 flaps on the triangle made from Step 5. Fold each flap up to make the frog’s front legs. (Use the image in Step 7 for reference.)

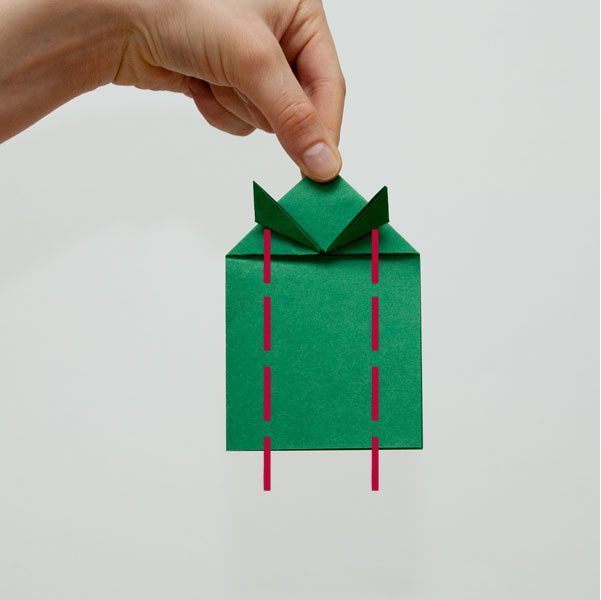
Step 7
Vertically fold the left and right sides of the model in toward each other so that they line up in the center. The folds should be behind the front legs.
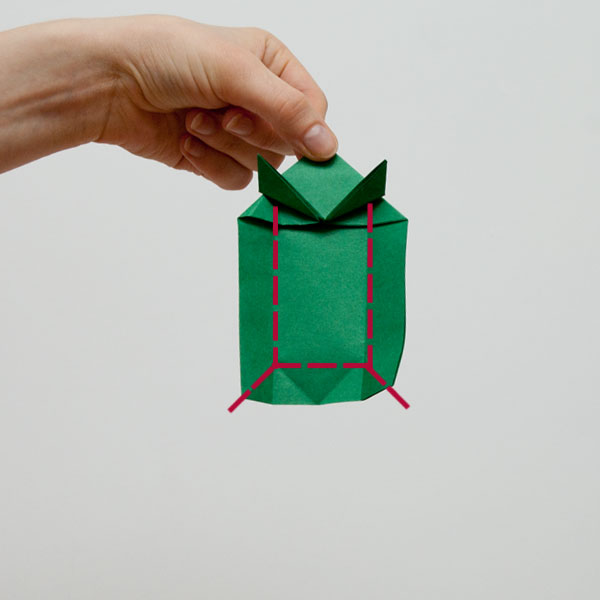
Step 8
At the bottom of the model, diagonally fold the left and right corners up so that they meet along the vertical, center line. Then unfold.

Step 9
Unfold to Step 7.
Step 10
Collapse the paper using the lines created in Steps 7–8. This will create the back legs of the origami frog.
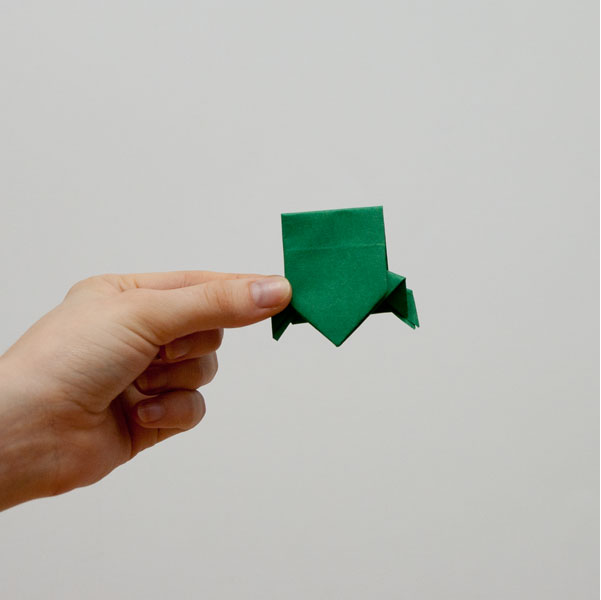
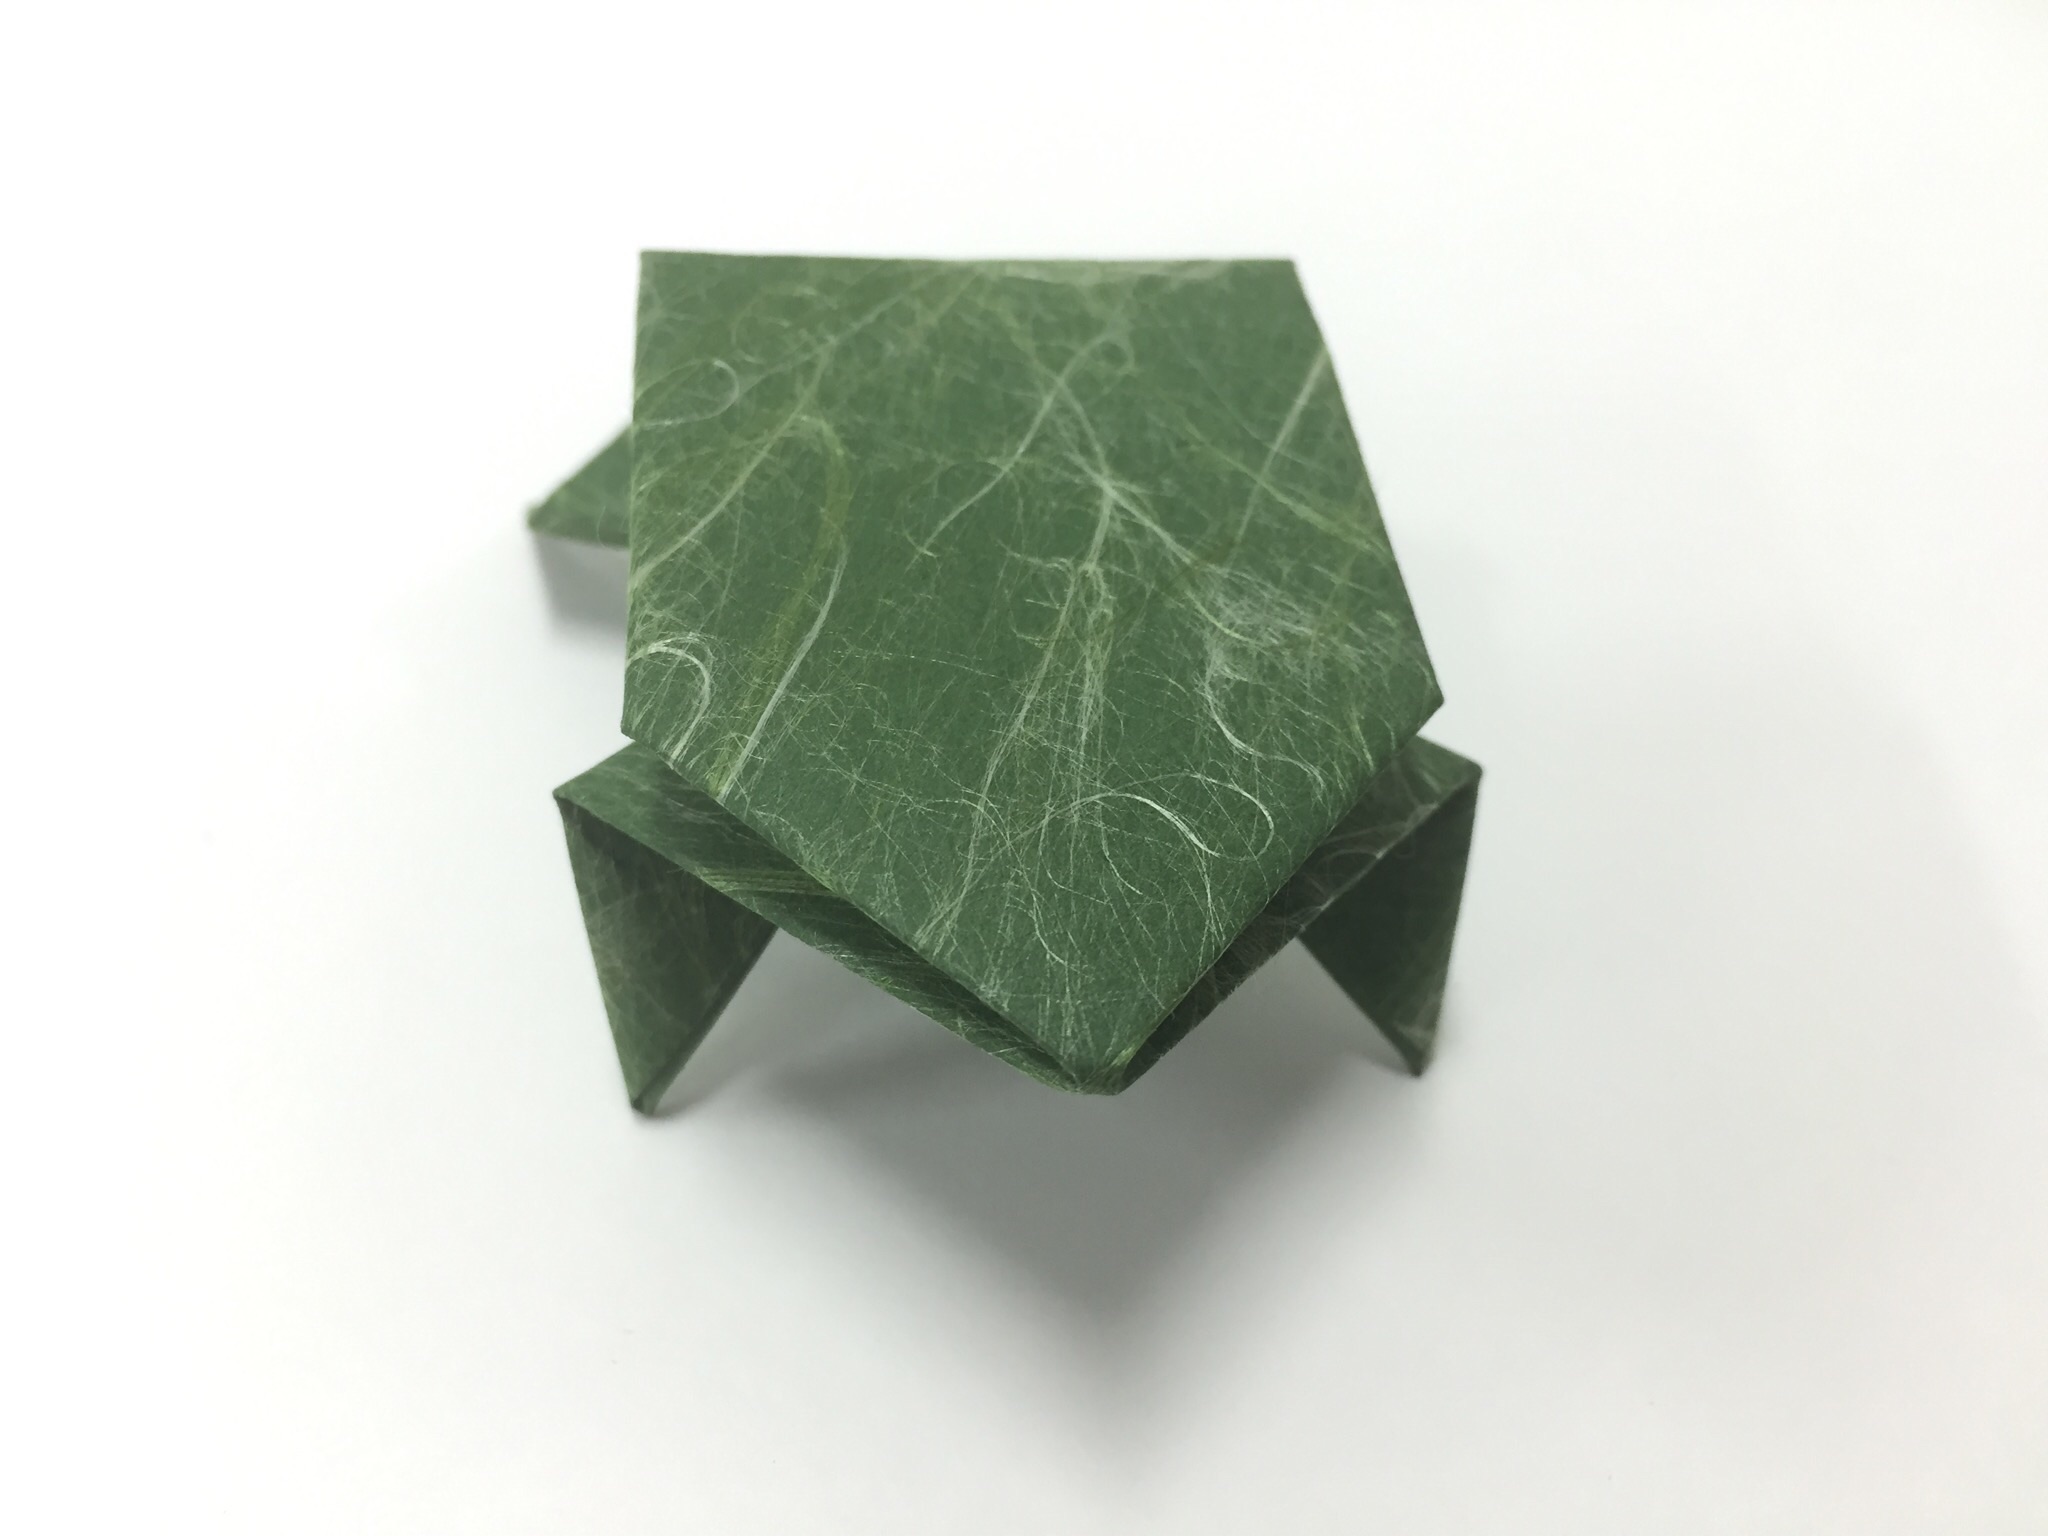
Step 11
Finish shaping the back legs by folding each corner down. (Use the image in Step 12 for guidance.)

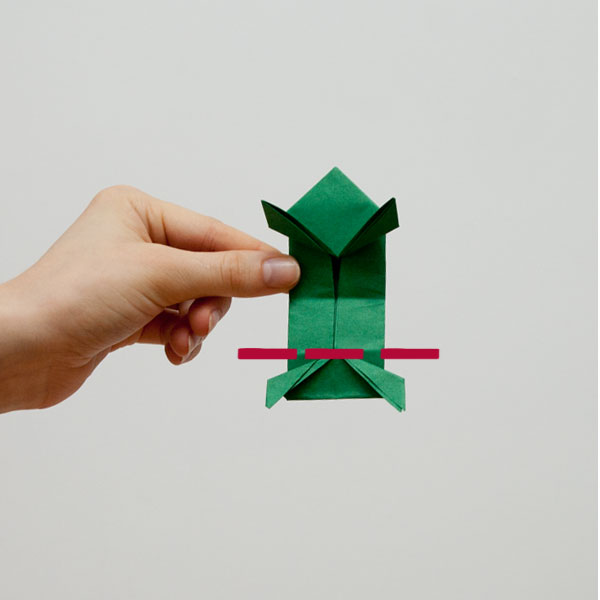
Step 12
Fold the model in half horizontally so that the tips of the front legs and back legs touch. Then unfold.

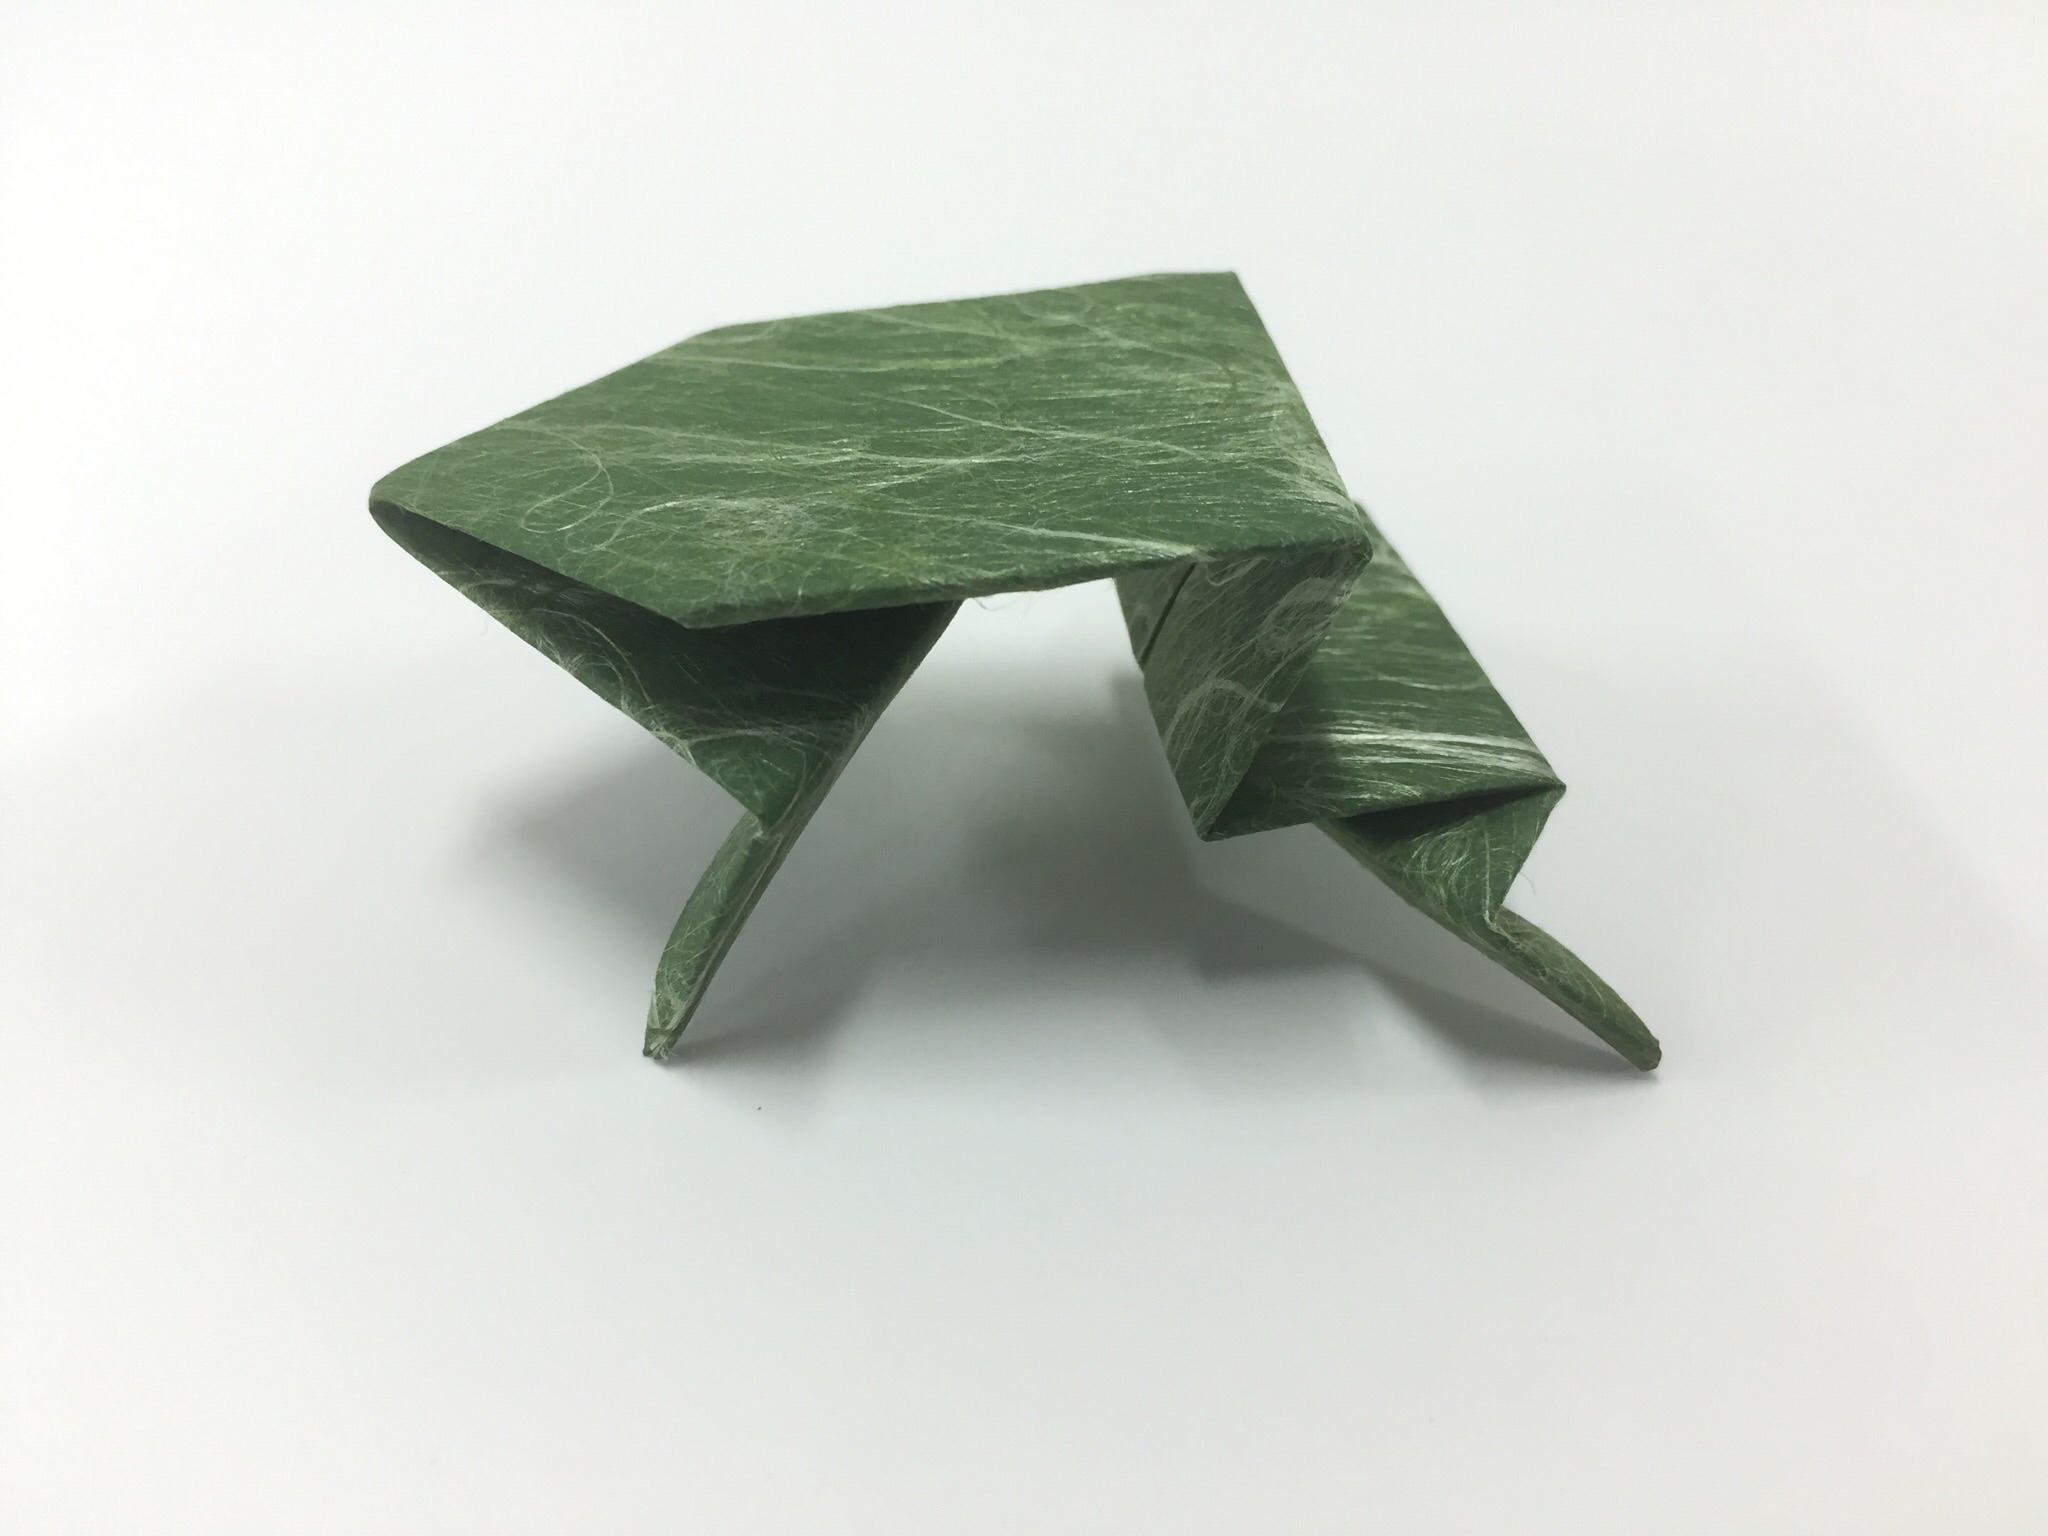
Step 13
Fold the bottom legs backward where the two legs meet in the center.
Step 14
Refold the line made in Step 12.

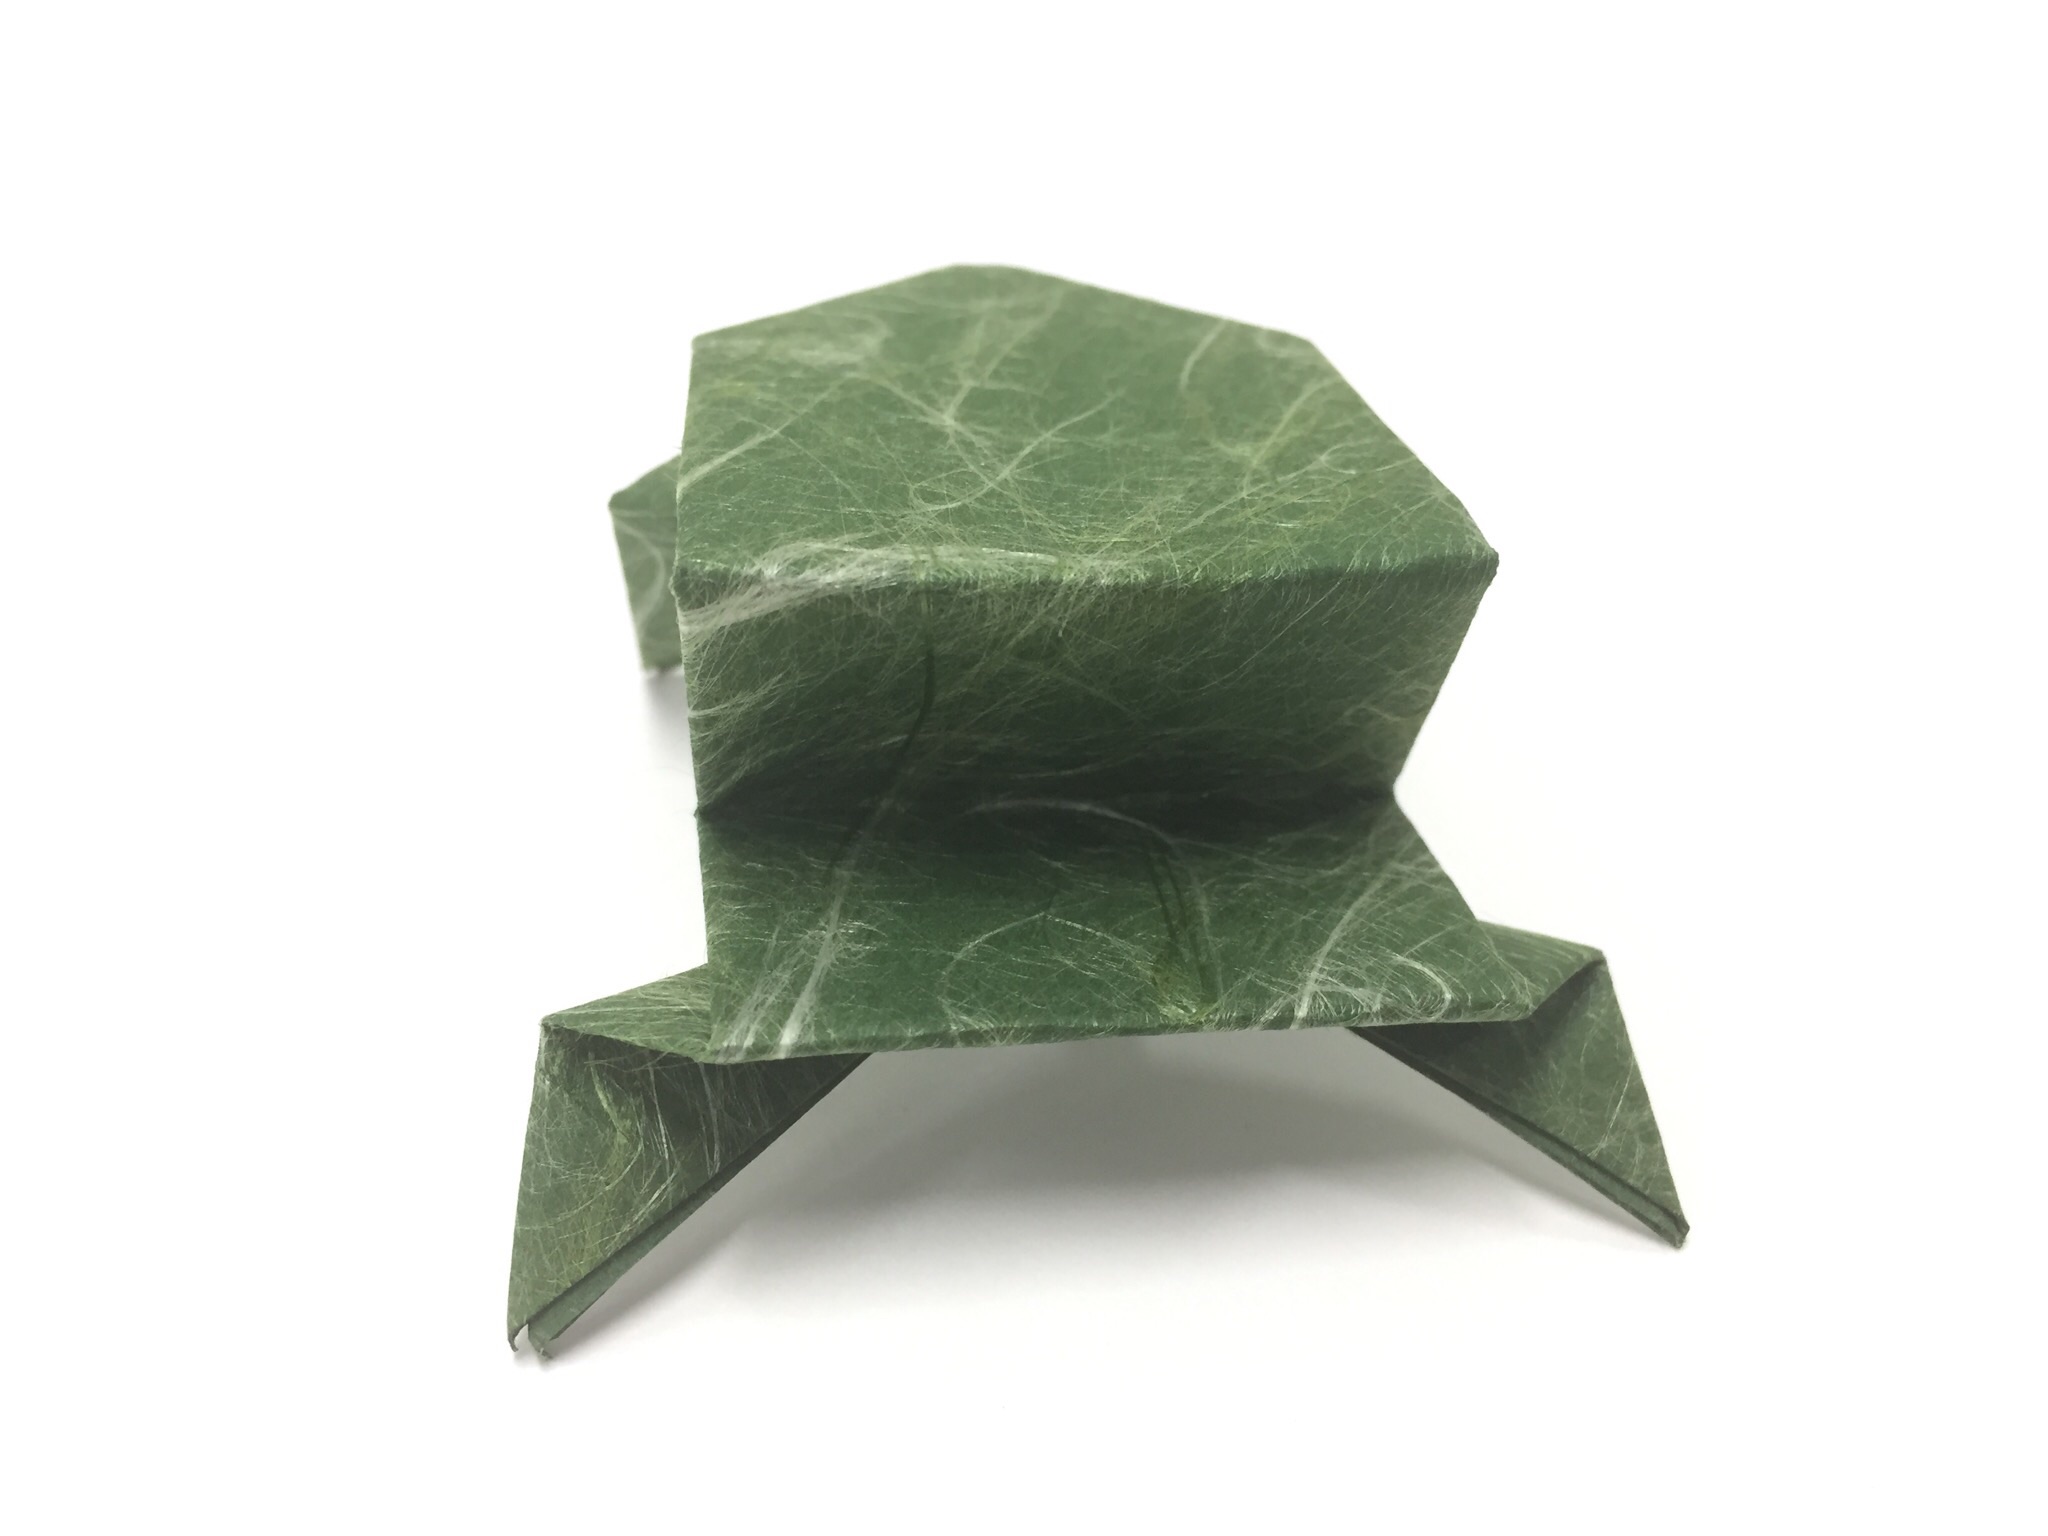
Step 15
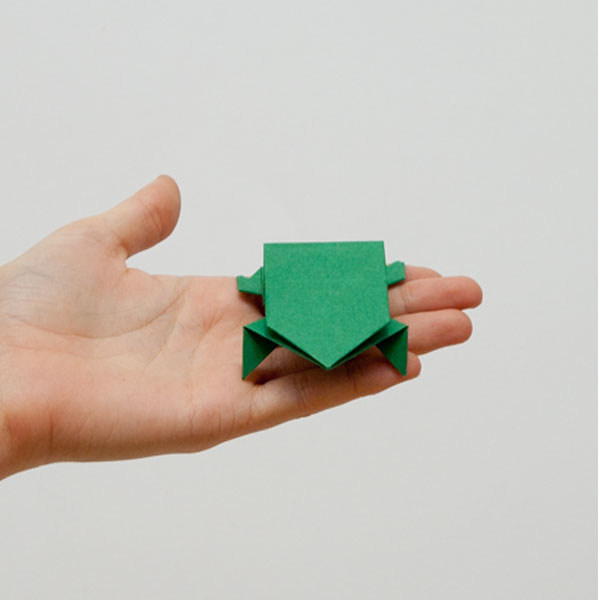
Turn the model over so that the back and head are face up. You’re done!
Easy Origami Frog Completed
You just learned how to make an origami frog!
Tips on Choosing the Right Origami Paper
Part of the fun with folding origami is the paper you use. For this easy origami frog, we think Japanese washi paper or single-sided origami paper would both be excellent choices (you can even buy washi paper and single-sided origami paper direct from Japan).
If you would like to learn more about the kinds of origami paper available in Japan, and how you can buy some of your own, be sure to read our article on how to choose the right origami paper for your folding project!

Try More Easy Origami Instructions
 |
 |
 |
Origami Cube |
Origami Fox |
Origami Rose |

