Are you as sly as a fox? Find out how clever you really are by trying your hands at folding an easy origami fox in just 8 steps. Watch out though, Japanese folklore often depict kitsune (“foxes” in Japanese) as being tricksters with a penchant for magic!
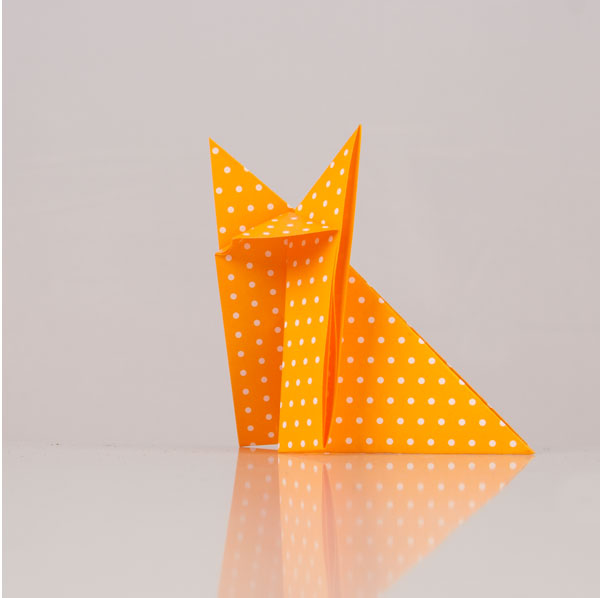
Note: For this easy origami fox model, you can use origami paper that is a different color on each side, however, the finished model will only show the color that is facing away from you in Step 1.
Step 1
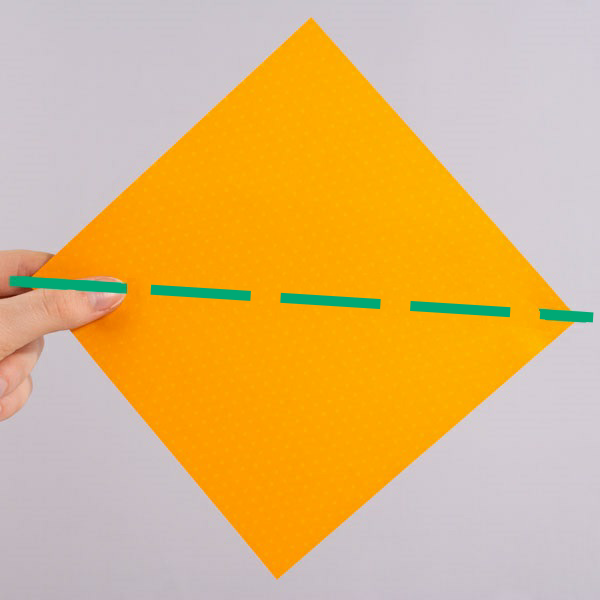
tart with a square sheet of paper, and turn it so that it looks like a diamond. Fold it in half horizontally so that the bottom corner touches the top corner.
Step 2
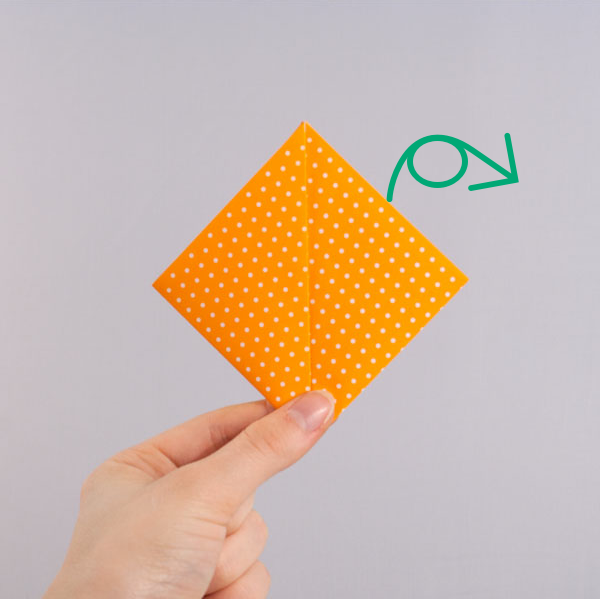
Fold the left and right corners up so that they meet at the top-center corner of the triangle.

Step 3
Turn the model over so that the folds in Step 2 are facing away from you.
Step 4
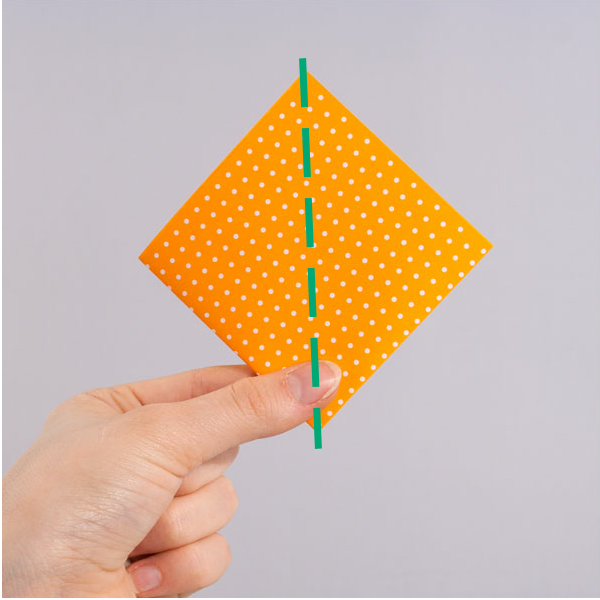
Fold the diamond in half vertically so that the right corner touches the left corner.
Step 5
Rotate the triangle so that the long side faces up.

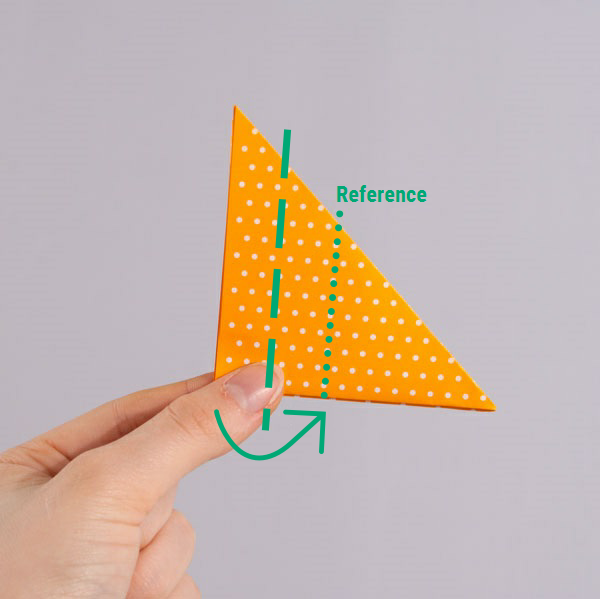
Step 6
Vertically fold the left side of the triangle to the right so that the left edge lines up with the center of the triangle.
Step 7
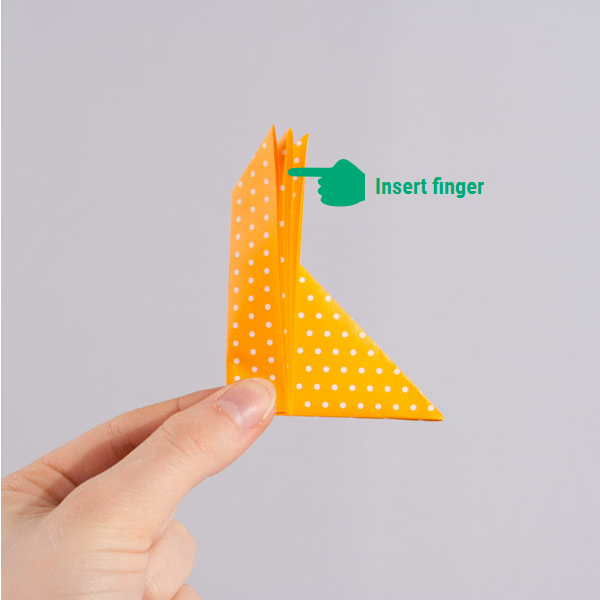
Insert your finger into the center flap created in Step 6. (There are 3 flaps at the top.)
Step 8
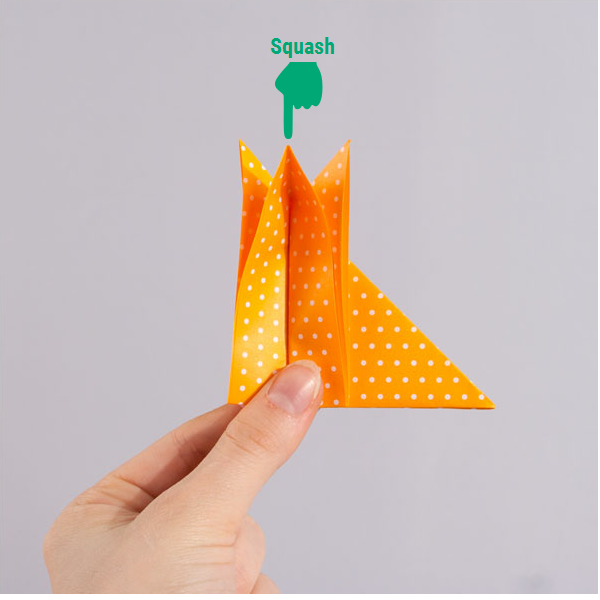
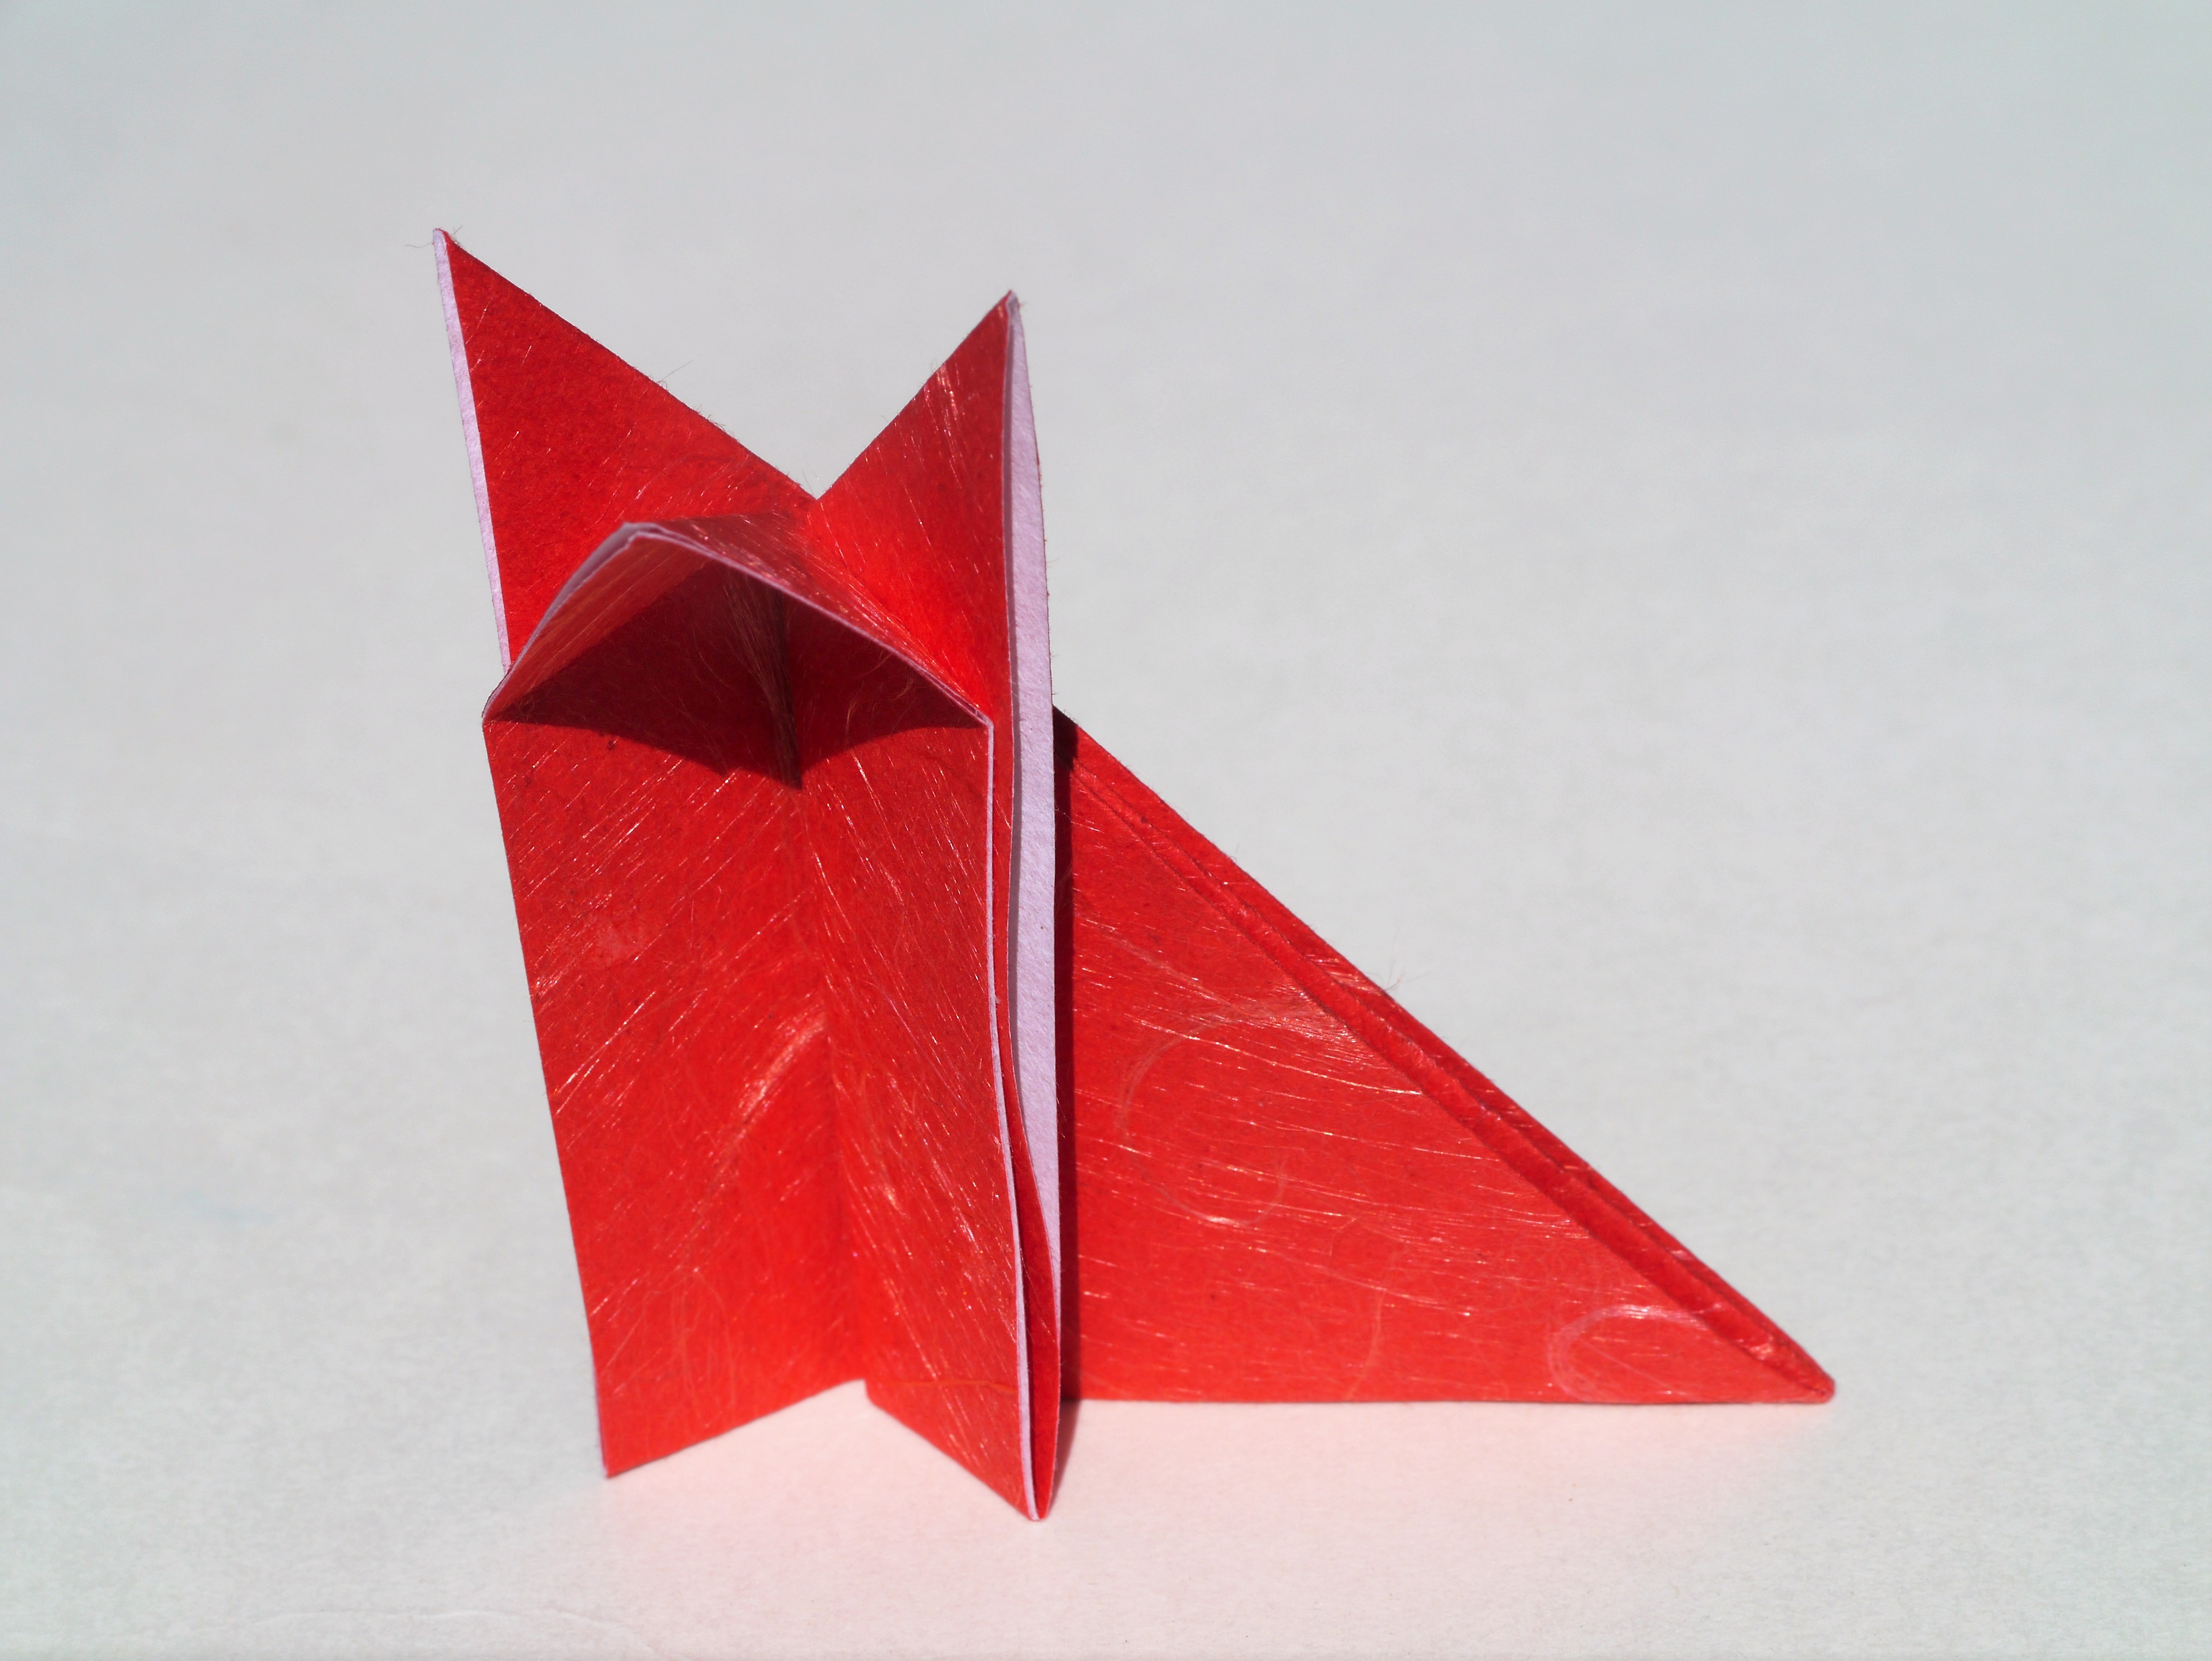
Squash the top center flap down to create the fox’s head. Don’t fold down the two flaps behind the head; these are the fox’s ears.
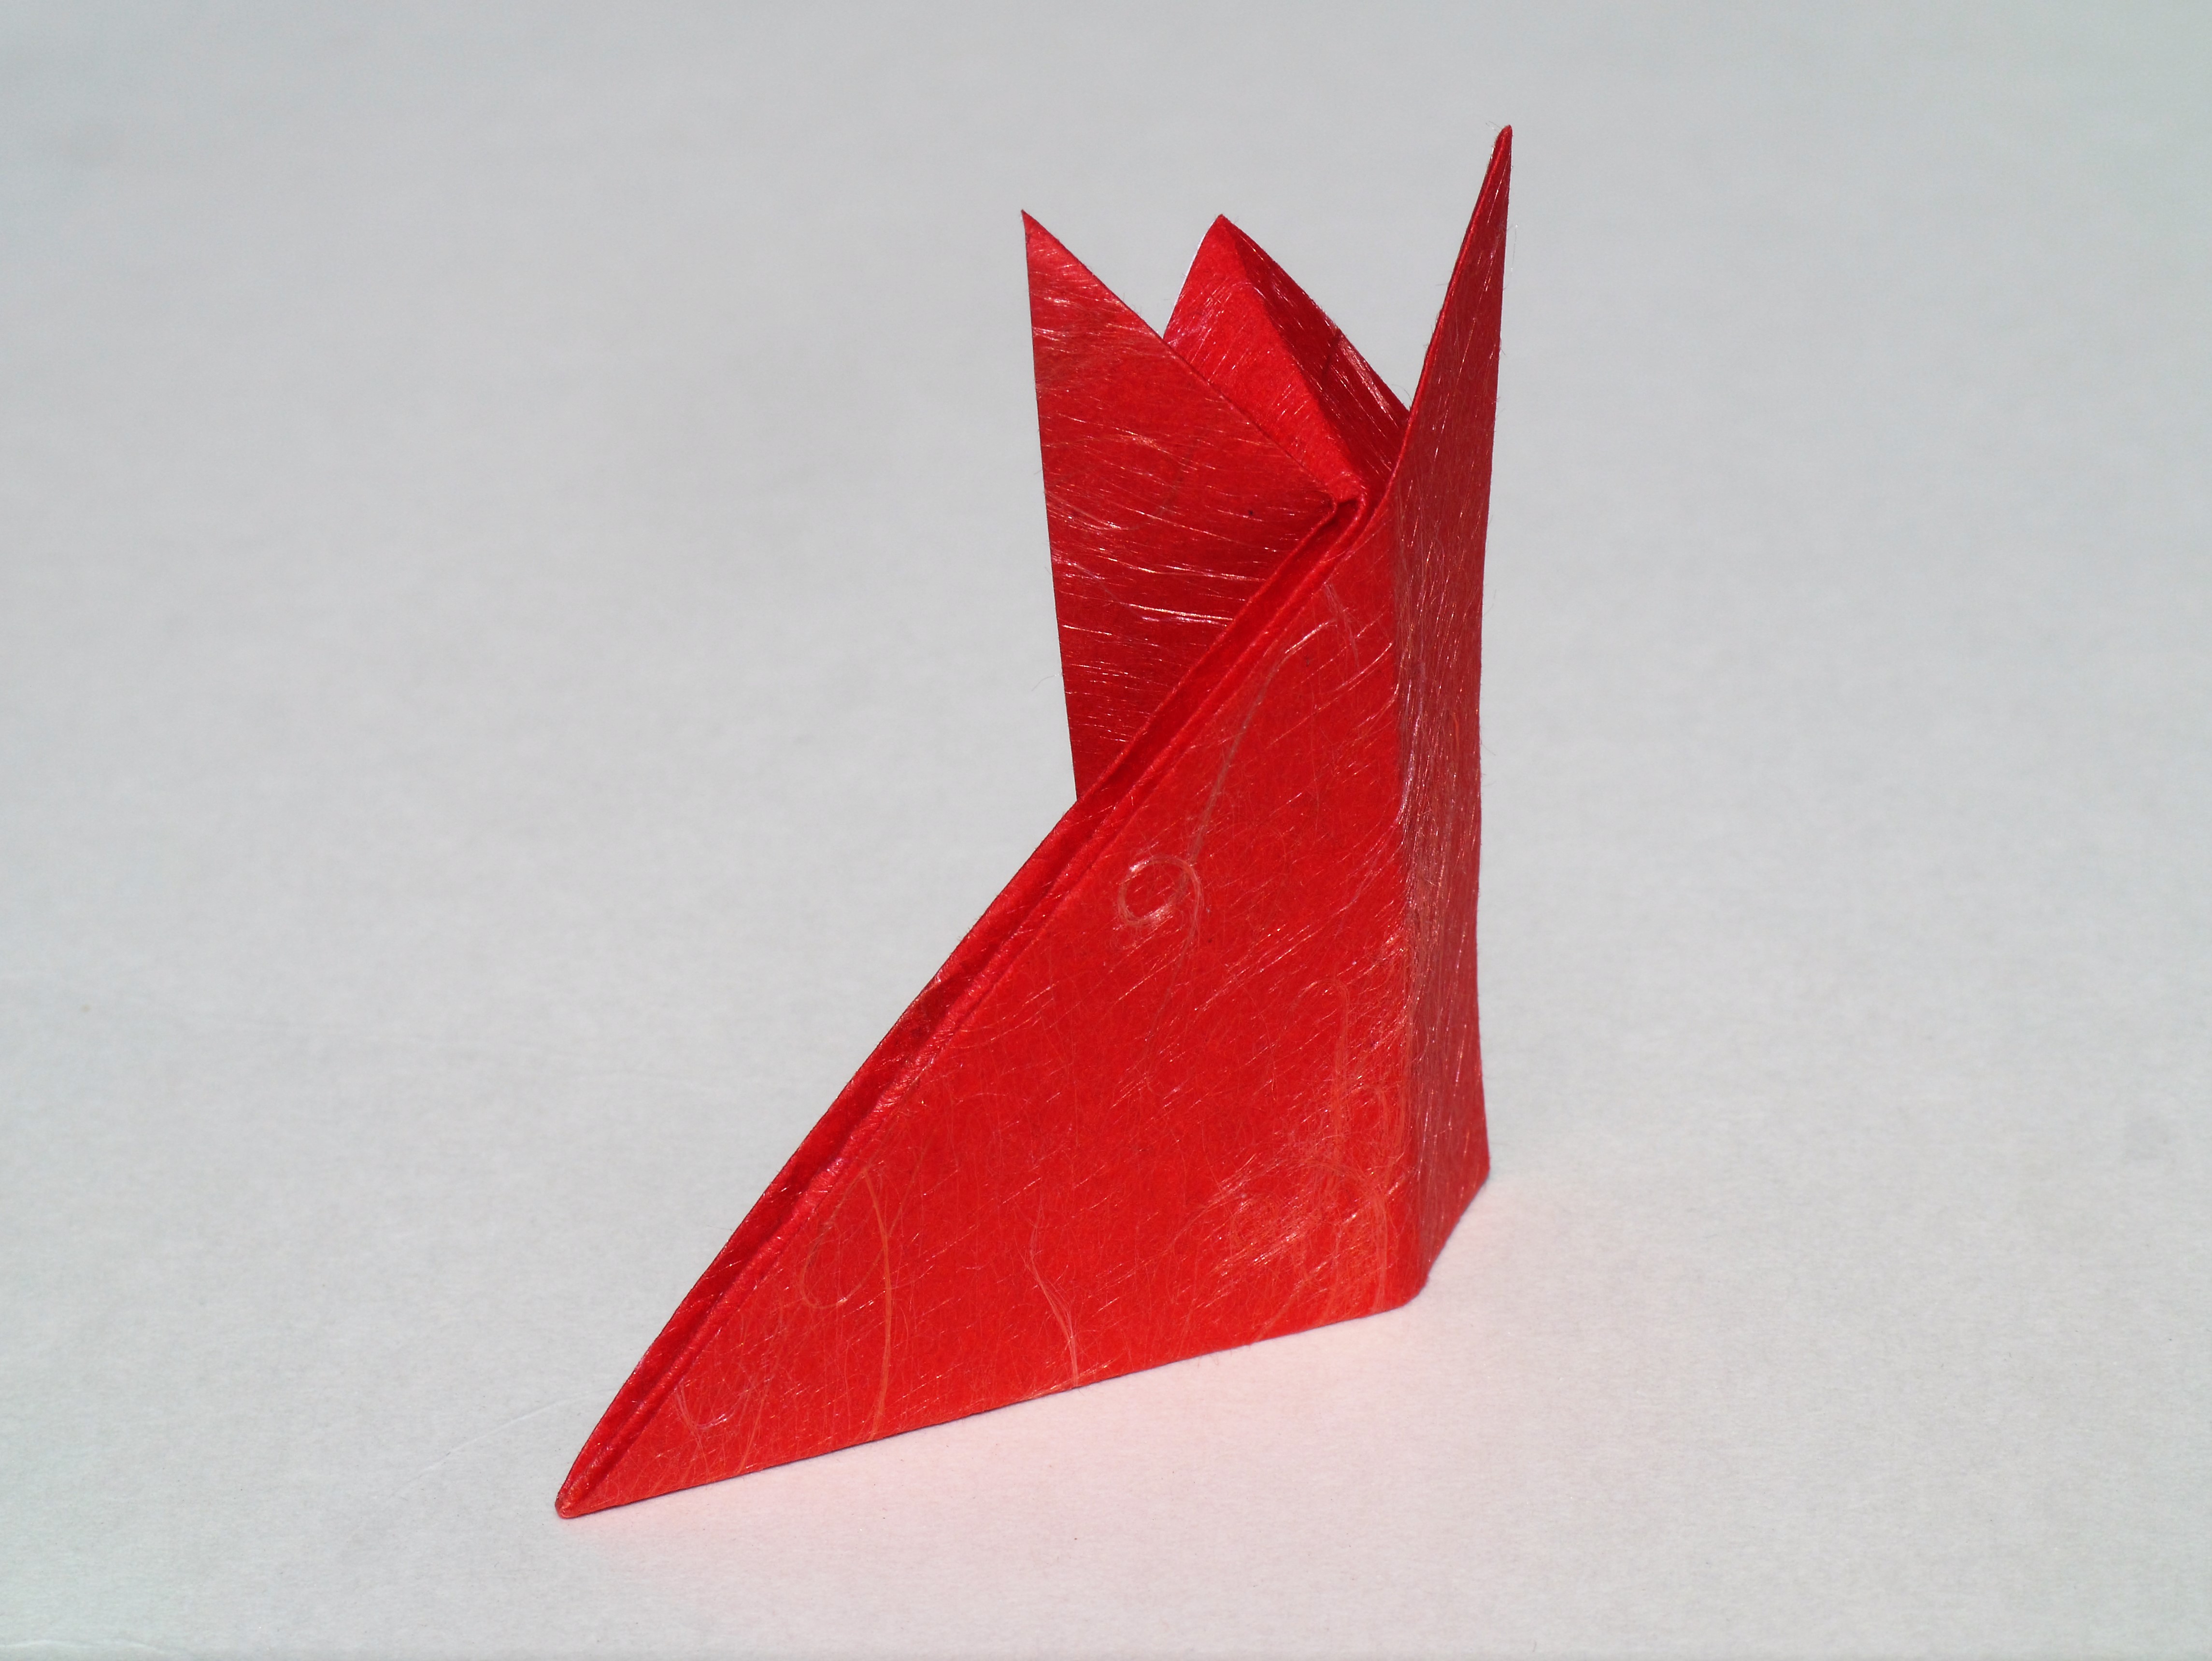
Easy Origami Fox Completed
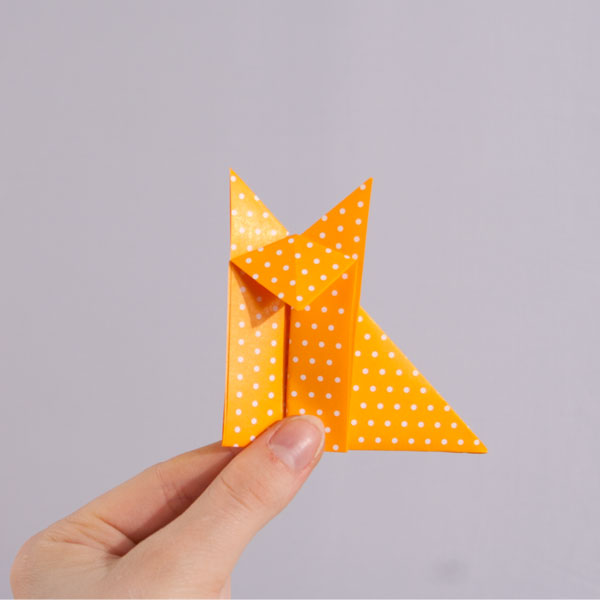
You just learned how to make an origami fox!
Tips on Choosing the Right Origami Paper
Part of the fun with folding origami is the paper you use. For this easy origami fox, we think Japanese washi paper or single-sided origami paper would both be excellent choices (you can even buy washi paper and single-sided origami paper direct from Japan).
If you would like to learn more about the kinds of origami paper available in Japan, and how you can buy some of your own, be sure to read our article on how to choose the right origami paper for your folding project!
Try More Easy Origami Instructions
 |
 |
 |
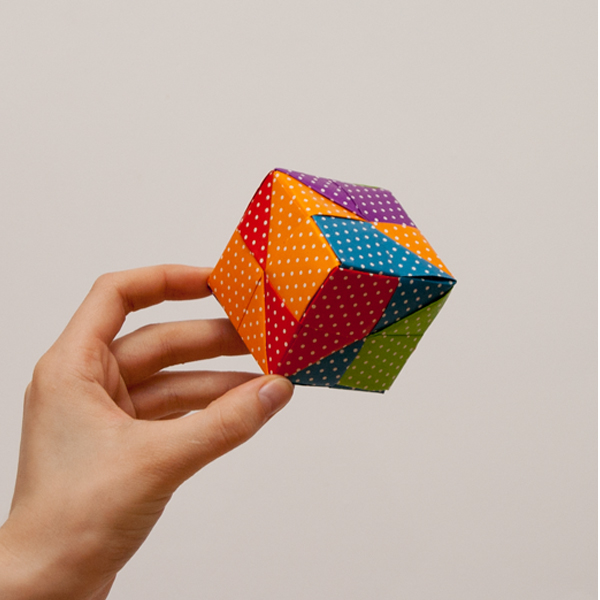
Origami Cube |
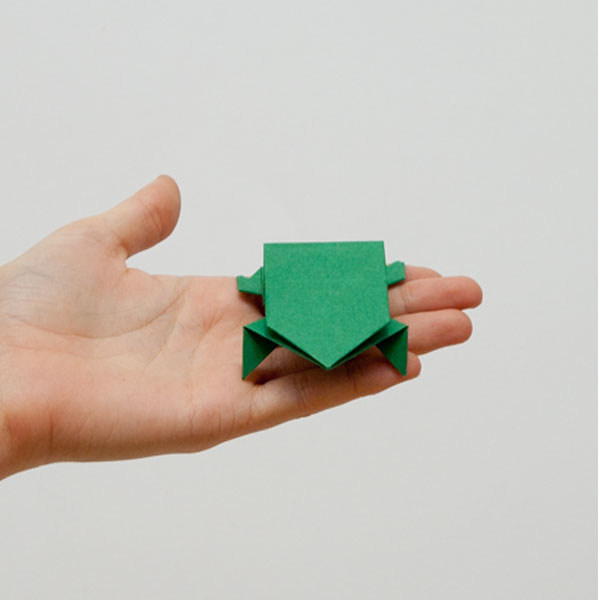
Origami Frog |
Origami Rose |


