
After assembling, painting, putting on decals and applying the topcoat to your Gunpla, there is still another step you can do to further improve the overall look and realism of your kit. This process is called Gunpla weathering, or battle damage. Especially if your mobile suit is designed for battle, it just doesn’t make sense for it to always be in pristine condition! Don’t be afraid that you’ll ruin your kit; not only will this process make your model look like it has been in a serious fight, but it will also make it look amazingly cool! Follow this Gunpla weathering tutorial, and in just a few steps you will be creating an awesome battle damaged Gundam kit.
Dry Brushing Tutorial for Gunpla Weathering
eathering and applying battle damage to your Gunpla may seem hard at first, but it is actually easy to do and can yield great results in a short amount of time. The first, and by far the easiest, weathering technique is called “dry brushing”; as the name indicates, it involves using a dry brush with semi-dry paint.
Materials for Dry Brushing
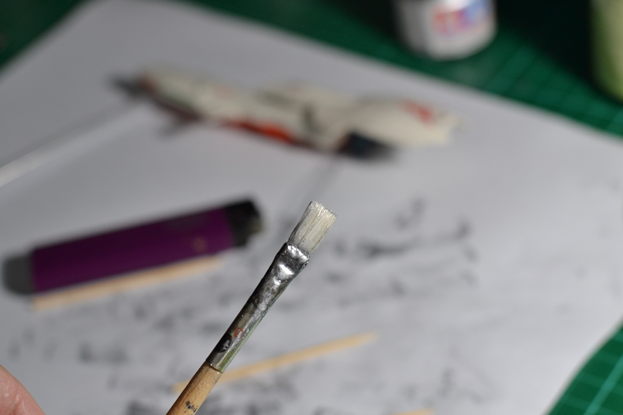
Brush
Tamiya Flat Aluminum Acrylic Paint
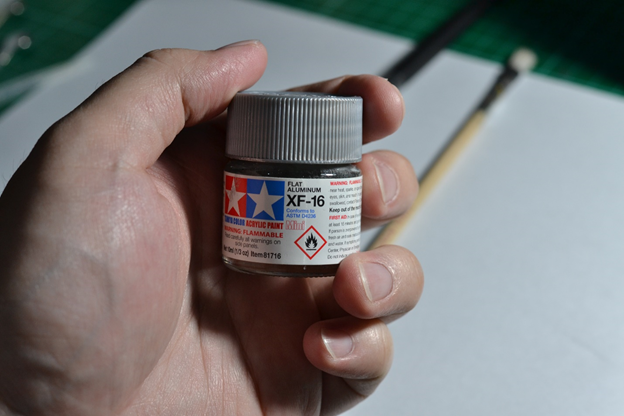
This is perhaps the best color for applying Gunpla weathering by dry brushing. It will simulate scratches on the armor and make it look as if the metal beneath the paint is exposed due to external scratches. Use it on inner frame sections and weaponry like beam rifles. Although this particular paint comes highly recommended, please feel free to experiment with other paints as well.
Important Note: Always work in a well ventilated environment and have a fire extinguisher near you for safety when painting your Gunpla!
Note:Due to international shipping restrictions, FROM JAPAN cannot complete overseas shipments of paints or enamel paint thinner.
Sheet of Paper
Painting Gunpla by Dry Brushing
- Add some paint to your brush.
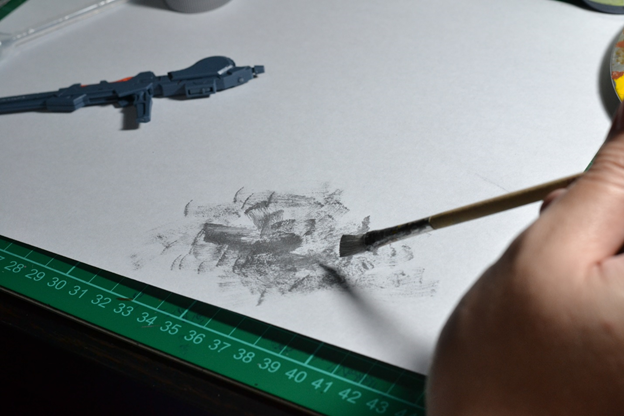
- Rub off any excess paint onto the piece of paper. For best results, it is important that only a small amount of paint is left on the brush.
- Rub the brush on inner frame sections as well as knee and elbow joints, the waist, etc. You can also do this with beam rifles to achieve a nice metallic look without actually painting the beam rifle metallic. You can also apply paint to armor parts, especially the dark colored ones. When applying weathering, just think about which parts would actually weather in a real battle!
Creating Realistic Battle Damage
In order to create an awesome battle damaged Gundam kit complete with bullet holes and similar effects, there are several options available; one is to use a soldering iron. One problem with this technique, however, is that it is difficult to control the application of the battle damage, increasing the chances of an overdone, unnatural finish. It also produces a very bad burning plastic smell, and the soldering tip will be ruined and cannot be used properly afterwards.
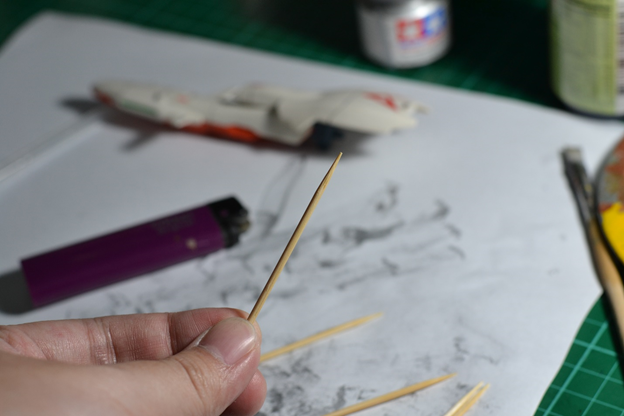
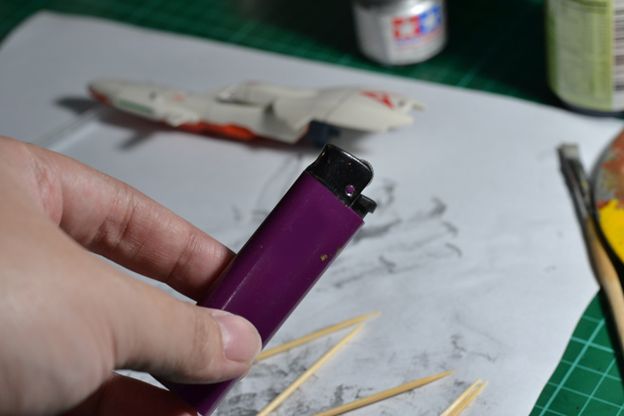
Instead, try using toothpicks, lighting them at the tips and then applying the heated tips to your kit. A good reason to use toothpicks is that they will soon burn themselves out, preventing you from overdoing the battle damage. Another bonus in using this technique is that it will leave a black carbon residue that adds to the weathering effect.
Materials for the Burning Toothpick Technique
Toothpicks
Lighter
Small Paint Brush
Tamiya Flat Aluminum Acrylic Paint
Important Note: Always work in a well ventilated environment and have a fire extinguisher around your room for safety when painting your Gunpla!
Note: Due to international shipping restrictions, FROM JAPAN cannot complete overseas shipments of paints or enamel paint thinner.
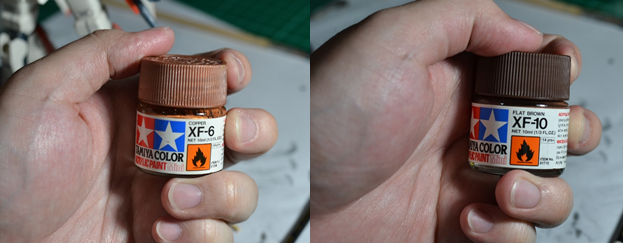
Tamiya Copper/Brown Acrylic Paint
Important Note: Always work in a well ventilated environment and have a fire extinguisher around your room for safety when painting your Gunpla!
Note: Due to international shipping restrictions, FROM JAPAN cannot complete overseas shipments of paints or enamel paint thinner.
Performing the Toothpick Burning Technique
CAUTION! Important Note: Be careful as this process involves the use of open flames. Always work in a well-ventilated environment and have a fire extinguisher around your room for safety when using flammable objects to modify your Gunpla! Adult supervision is highly suggested when this technique is performed by a minor.
After you have all of your safety precautions in place, do the following:
- Decide where to apply battle damage by considering where it came from; for example, whether the bullets just scraped the armor or went straight into the shoulders, etc. There are a lot of possibilities and combinations, so you just have to use your imagination.
- Burn the toothpick to around ¼ inch (.05 cm) and extinguish it by blowing on it.
- Apply the smoldering toothpick end to the area where you want to create battle damage, and apply a twisting motion for an even better effect.
- Apply a bit of Flat Aluminum paint on the battle damage crater or hole using a small paintbrush.
- Again using a small paint brush, apply a bit of Copper or Brown paint on the lower portions of the battle damage crater and use your fingers or some cotton swabs to smudge it down to simulate rusting.
- You can further apply step No. 5 to other areas such as knees or elbows.
Other Gunpla Weathering Tips
- Use your imagination to try and visualize what battles might look like. Then apply beam saber damage, beam rifle damage, scrapes on the armor, and so forth, according to where you think that battle damage would appear.
- Try not to overdue dry brushing during the Gunpla weathering process. Make sure that your brush is very dry, as it is easier to add more weathering than to remove it.
- Focus on the body parts that would typically have more weathering and battle damage: knees, elbows, hands, feet, waist, shield, torso and shoulder armor.
- You can also apply the rusting effect near thrusters or backpacks. You can apply a little bit of black paint for oil stains as well!
- Whenever possible, apply weathering following the application of a matte top coat. The effect is better on a matte top coat and you can always apply another coat after weathering to seal everything in.
- Don’t worry about damaged or wrongly applied dry transfer decals—those decals actually provide perfect opportunities to apply battle damage, as they will “sync” with it even better than perfectly applied decals.
And that’s it! After just a few easy Gunpla weathering steps, you will have a battle damaged kit that will not only look realistic but also incredibly awesome. For more guides on making amazing Gunpla, check out our How-To Gunpla Series:
-
How to Choose the Right Gundam Model Kit
-
The Gunpla Kit Painting Guide for Realistic Models
-
The Gunpla Tutorial: How to Decal your Gundam Plastic Model
-
The Gunpla Top Coat Guide: Giving your Gunpla a Fantastic Finish
-
The Gunpla Panel Lining Guide: Gunpla’s Guide to Markers and Paints

